Tape 101: Tips & Techniques
Have you tried using painters tape to get a clean edge only to end up with bleed through? Or have you gone to peel your tape only to see big sections of paint peel up? Have you wanted to experiment with ways painters can use tape to create different effects? Let me help you with these common tape mistakes as well as some tape techniques I’ve picked up over the years as a muralist and scenic artist in the film industry. Scroll down to see a breakdown of the different types of tape I use and why.
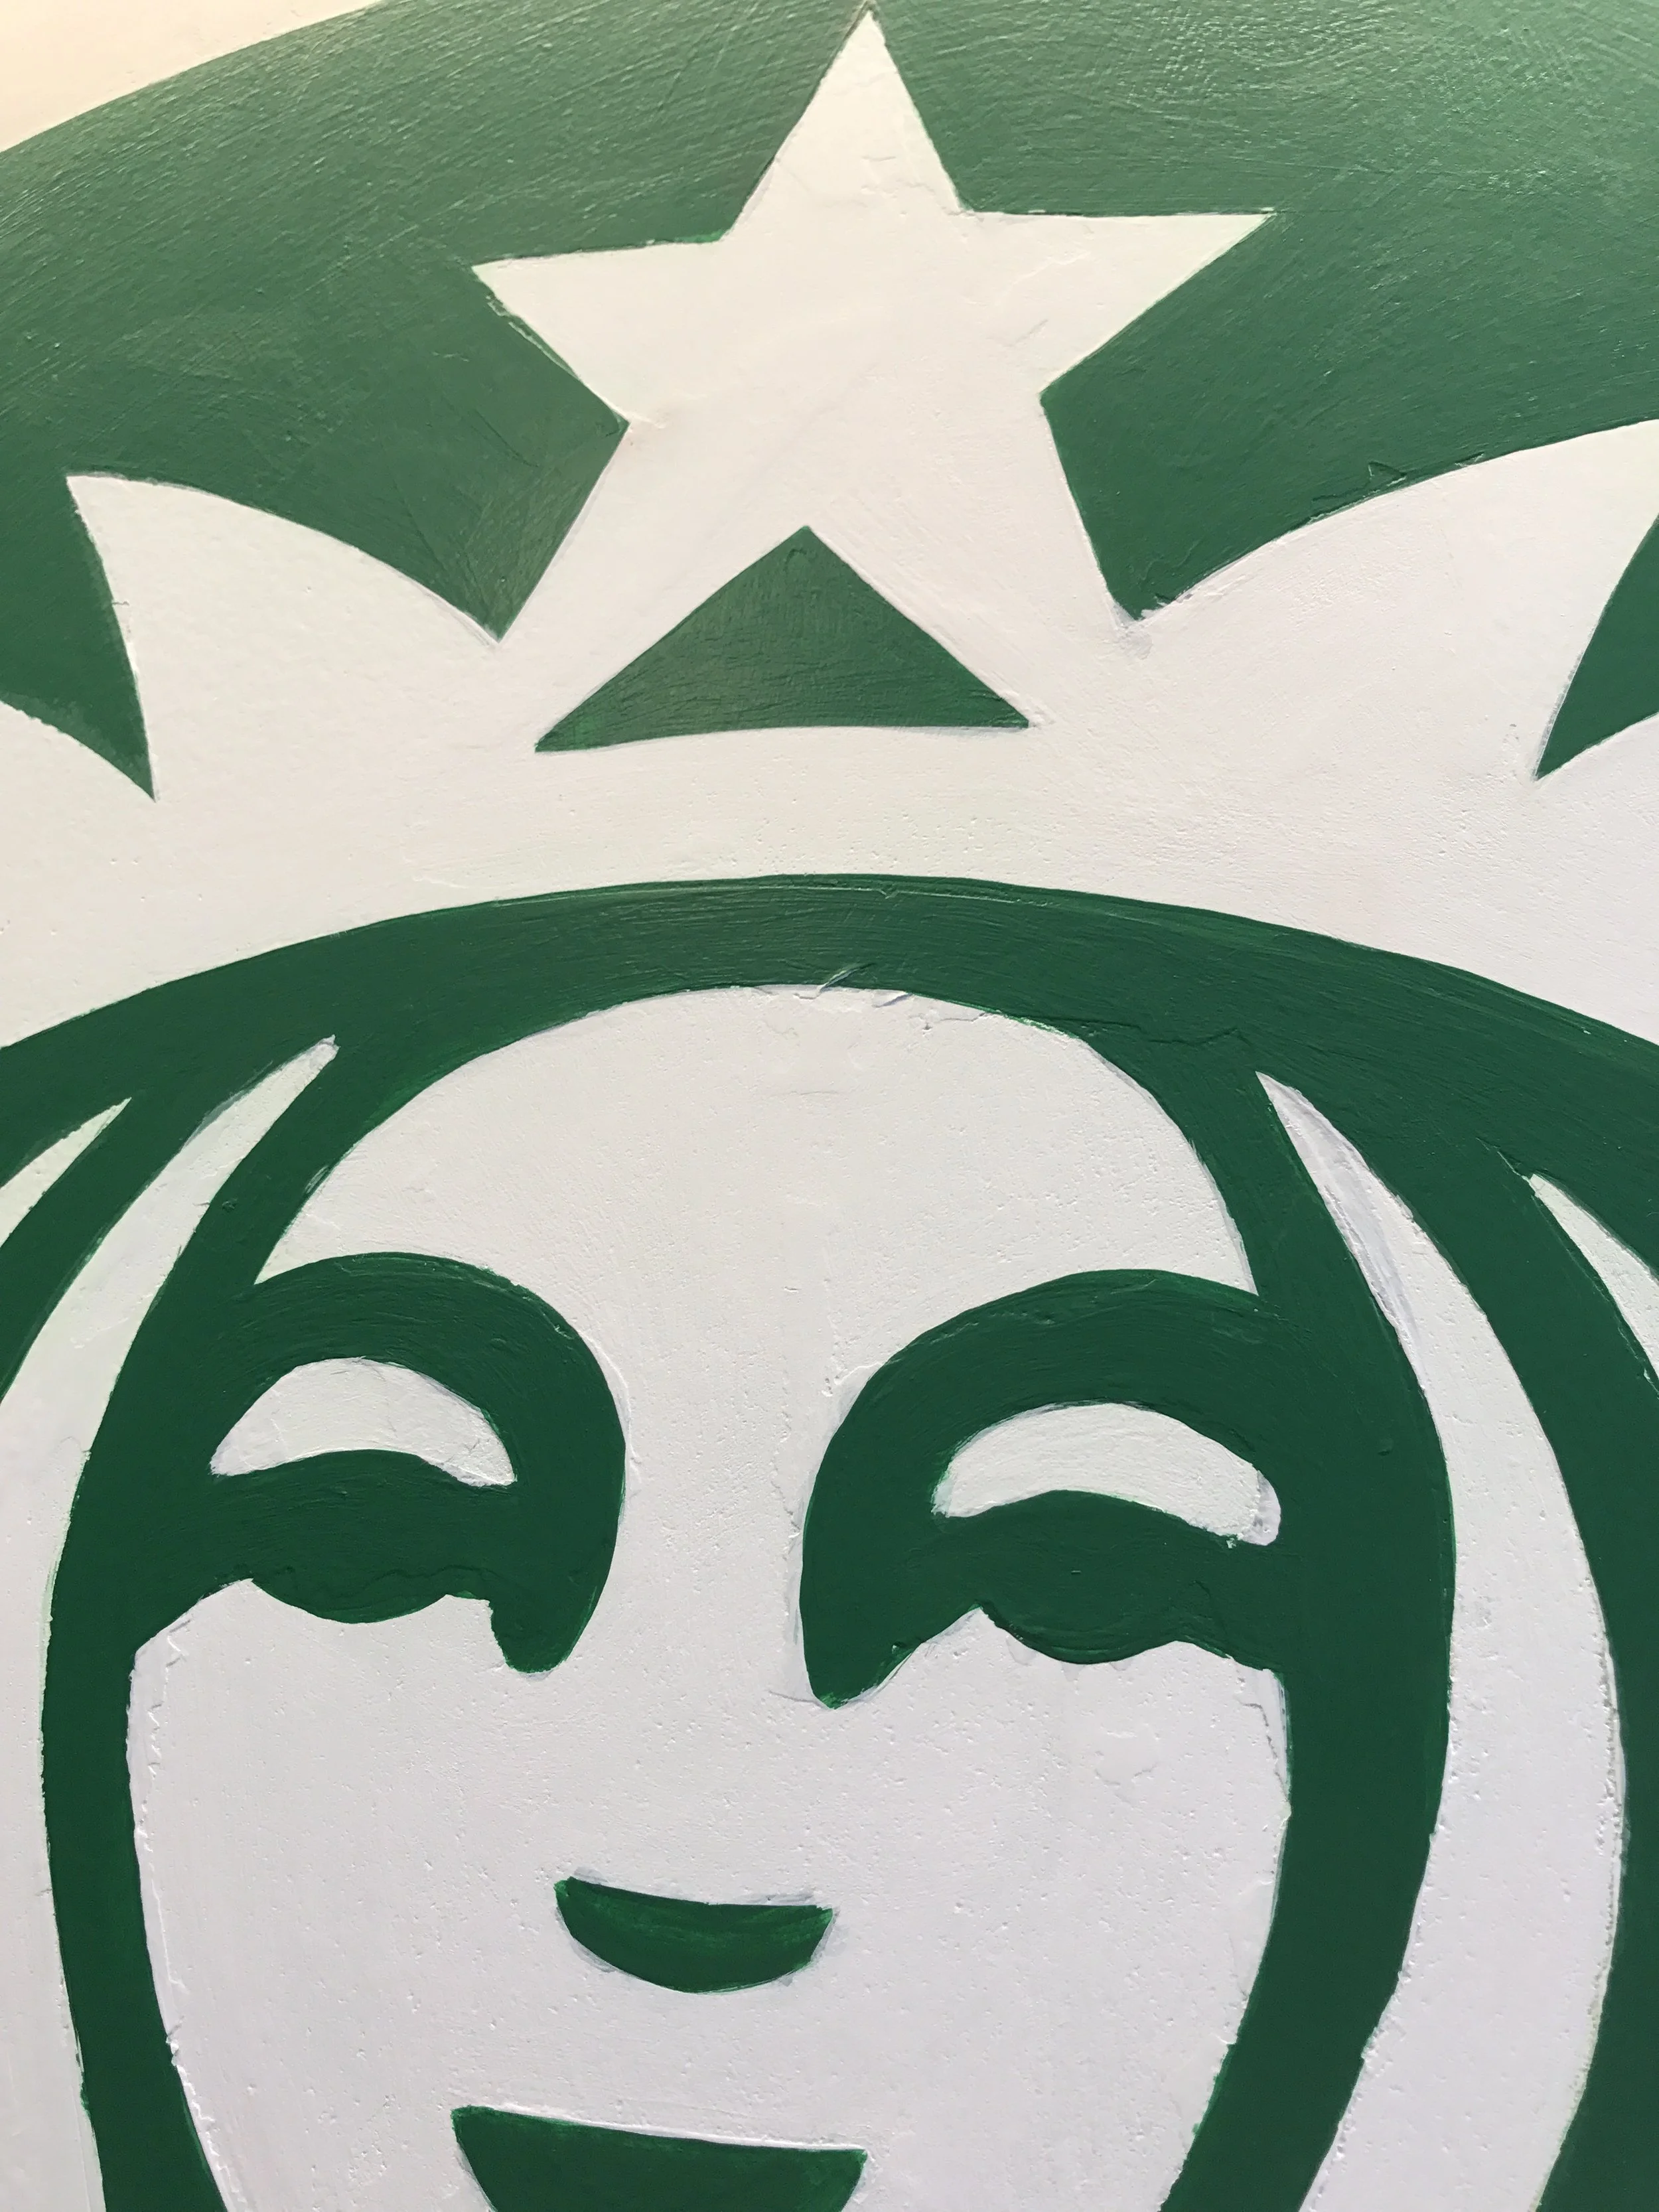
Clean lines with no bleed through!
1. Prepare the Surface
Seriously DO NOT skip this step! Before applying the tape, make sure your surface is clean and dry. Dust, dirt, and even a tiny but of oils from your skin from handling the wall can prevent tape from sticking well, leading to bleeds. Wipe down the surface with a damp cloth or mild cleaner, then let it dry completely.
2. Test a small area first
Take it from me, you don’t want to spend hours taping everything perfectly only to have it peel up later. Yes, this has happened to me many times! Try a sample area first. Sometimes people skip step 1 and have painted on a dusty wall, or they skipped the priming step and went straight to paint on drywall. The paint might look clean and dry but the second you put tape on it, it all peels up. In the example below the frisket (a big sticker stencil with the same adhesion as tape) ripped off the paint because the surface below was not properly primed. Unfortunately there’s nothing you can do in this situation- this is why it’s important to always do test areas first.


2. Firmly apply tape
Use your fingers or a small plastic tool like a credit card to run along the edge of the tape, making sure every inch is adhered to the wall. This extra step helps prevent gaps where paint could seep through.
3. Seal the Edge
This is the secret! Seal the edge with the base color. For example, if you’re creating a mural on a white wall, apply a thin layer of white paint along the edge of the tape before adding your color. This way, any bleed that might happen is the same color as the base, creating a crisp line. Do not paint too thickly though, or your paint can peel when you pull the tape! Allow this coat to dry before adding your actual color. You can also use a clear paint. Test your clear paint first though, some clears can be too watery and some can interact in a funny way with the adhesive, making the tape ripple.
4. Use Minimal Paint on the Edge
Avoid overloading your brush or roller, especially near the tape’s edge. Too much paint can build up against the tape, increasing the risk of seepage. Instead, use thin coats and work with light, even pressure. Brush away from the paint edge rather than down into the tape.
5. Remove the Tape Before the Paint Fully Dries
This part is super important! If you wait until the paint is fully dry, it can create jagged edges and peel the paint off. Instead, slowly and carefully peel the tape off at a 45-degree angle while the paint is still tacky, revealing a crisp edge beneath.


6. Rough Surface Technique
You may notice that tape won’t stick to rough or porous surfaces like stucco and brick. Here’s a cool trick- you can use caulking to seal the tape edge. Just make sure the label says “paintable,” as not all caulking accepts paint on top.
Effects with Painter’s Tape: Tips and Techniques for Muralists
Now that you know how to keep your edges clean, here are a few tips for other ways to use tape in your murals.
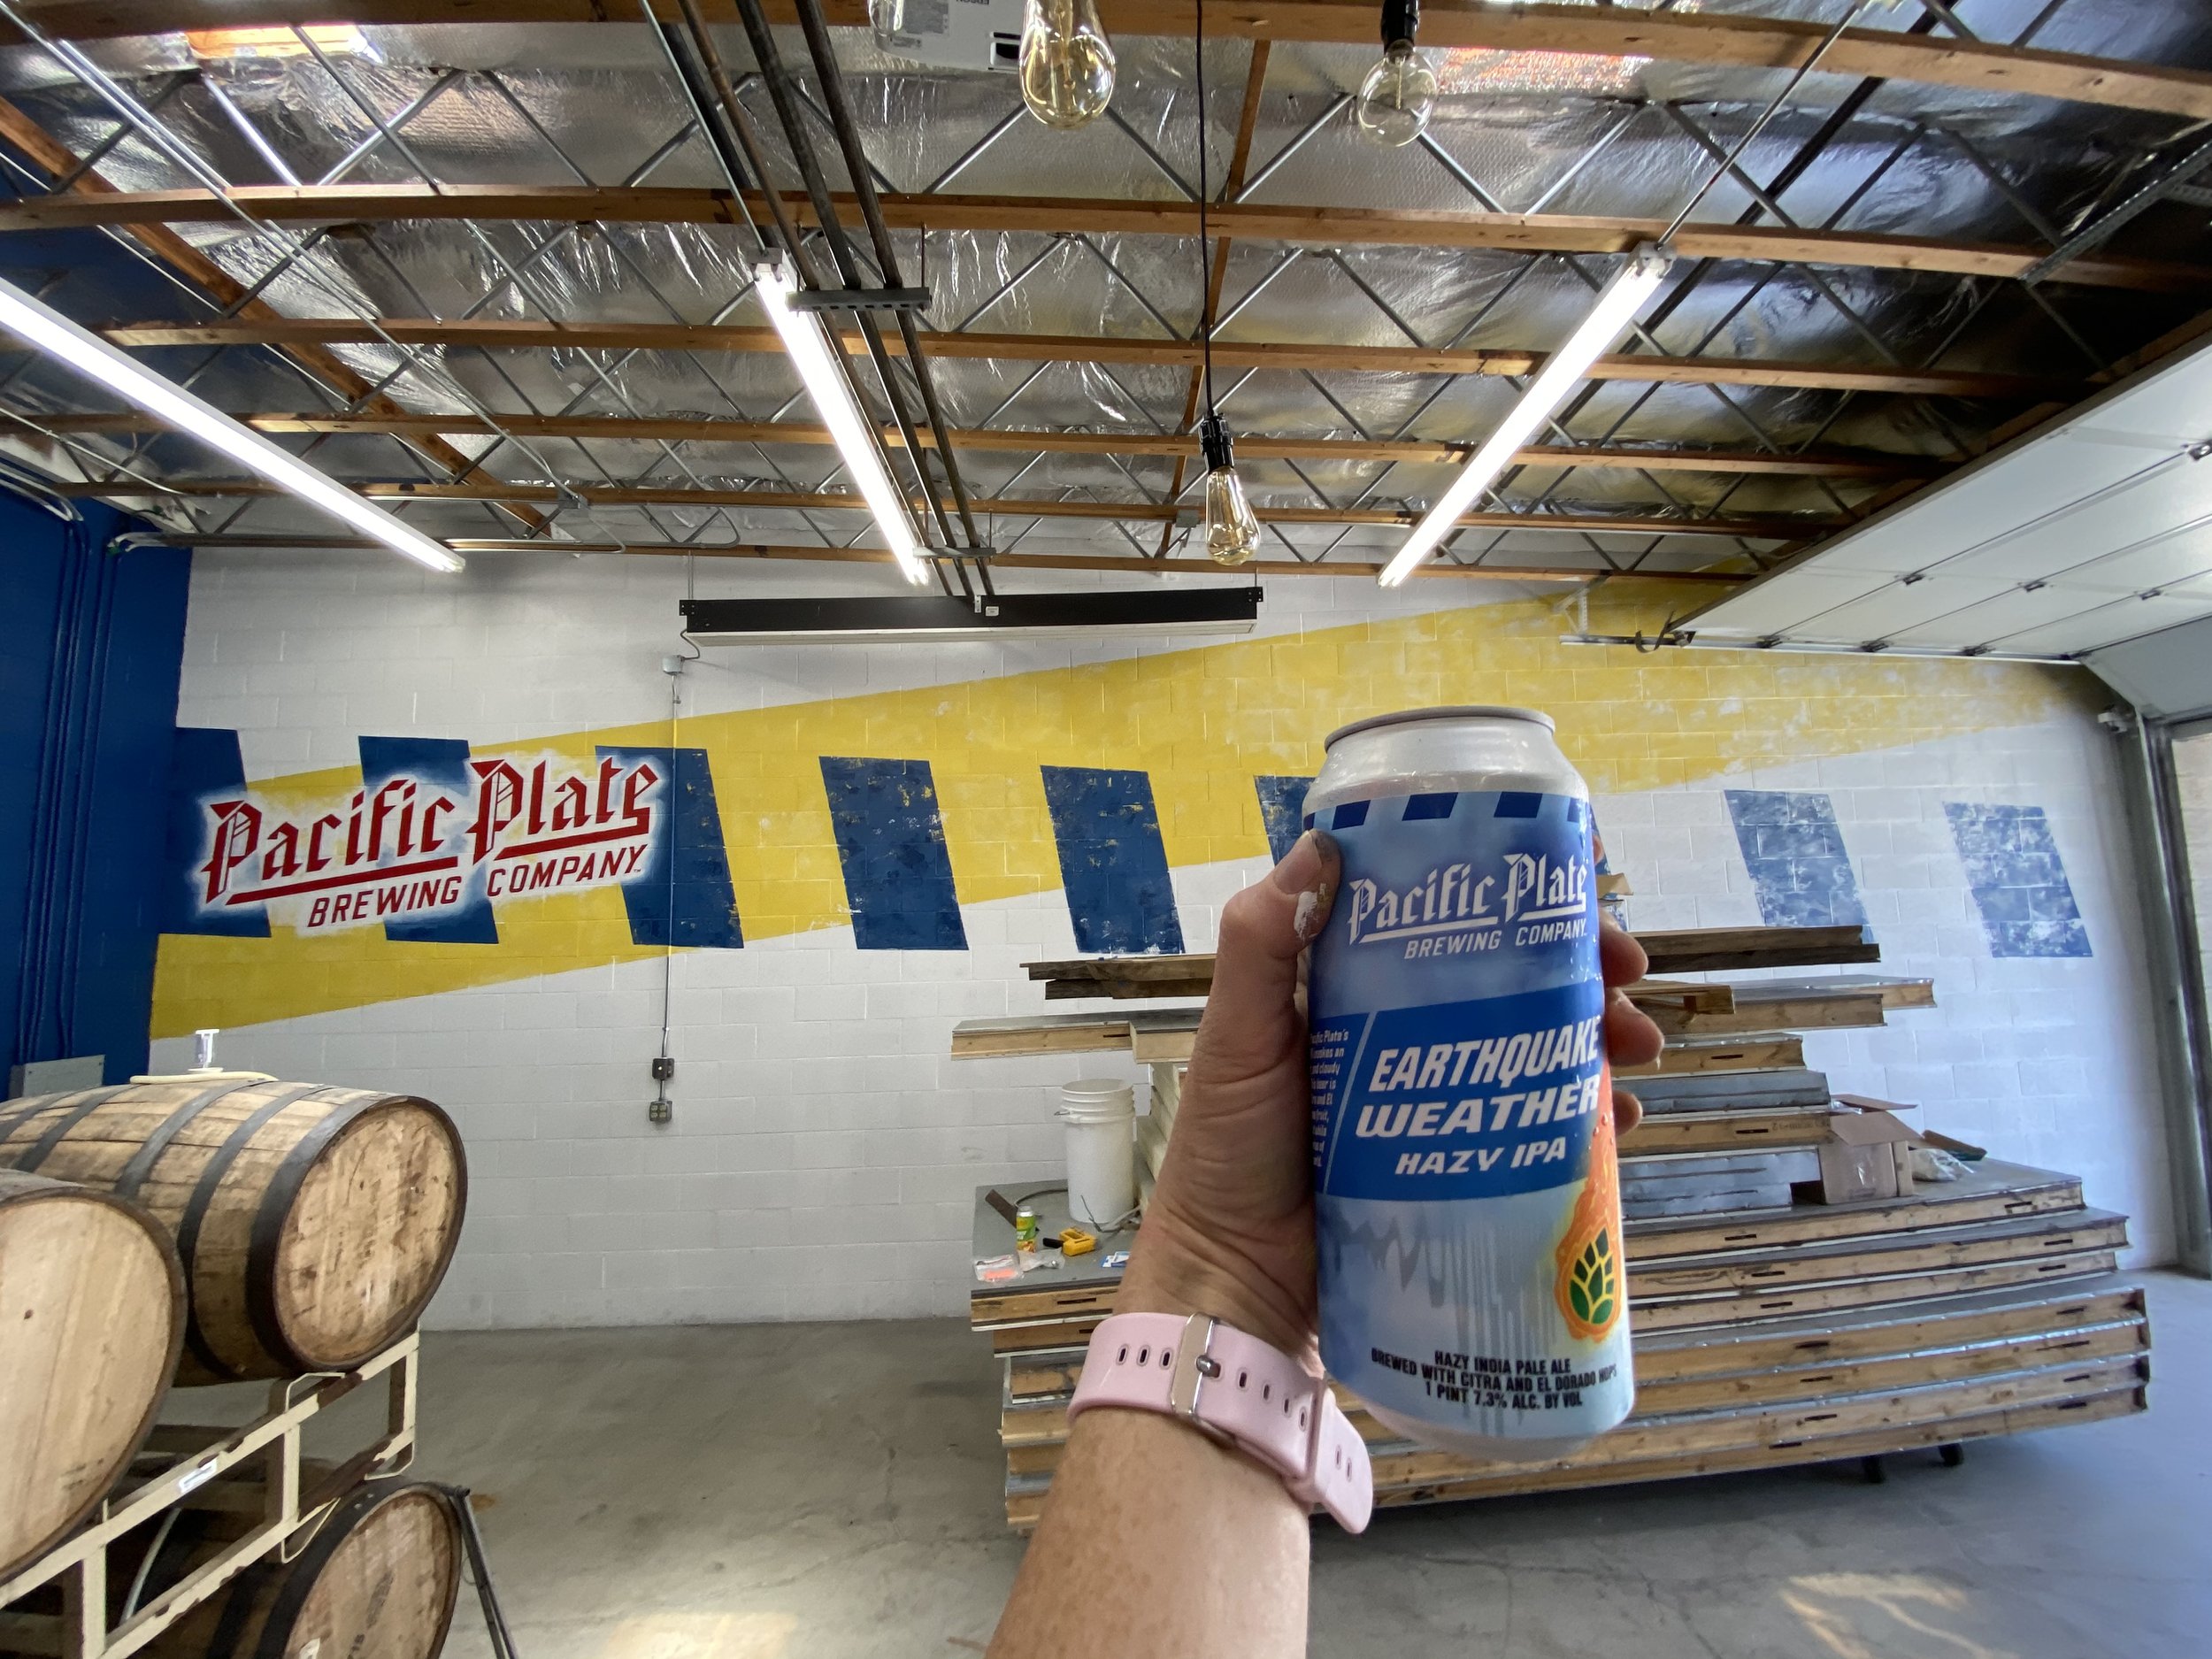
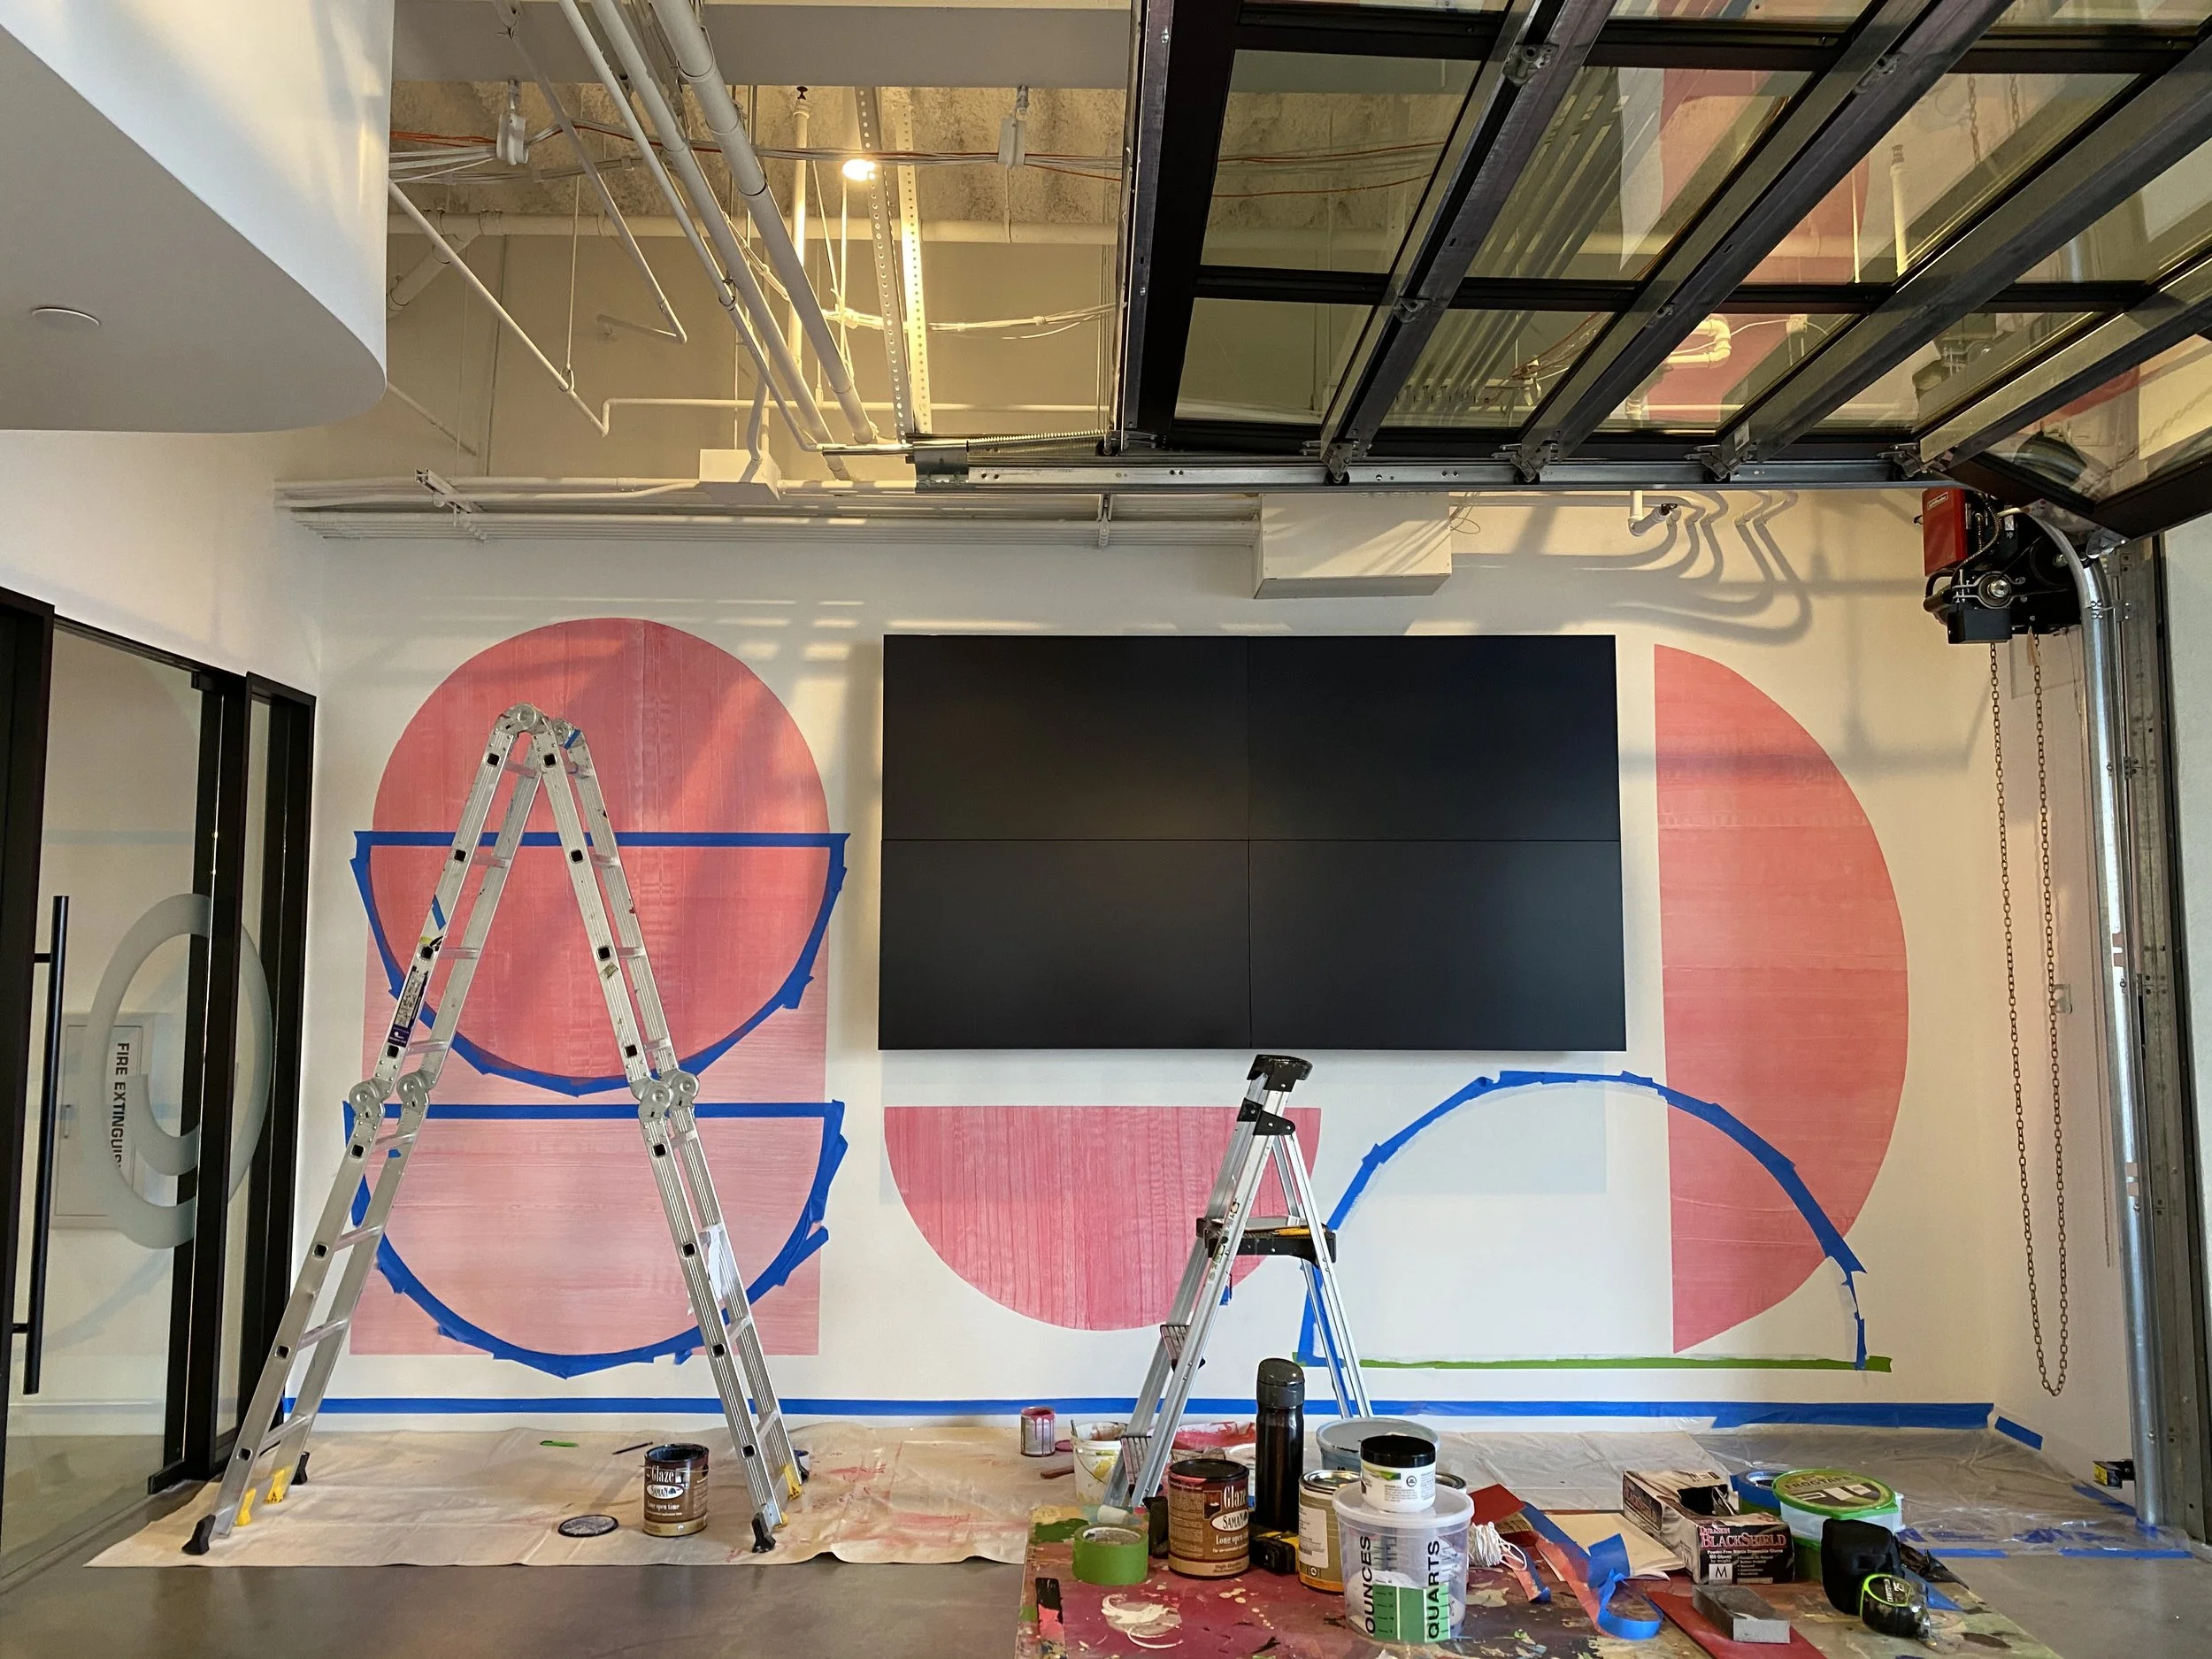
1. Using Tape to Create Text, Borders, Stripes, and Geometric Shapes
Below are some different examples of ways I have used tape: stripes, patterns, and a way to align my text.


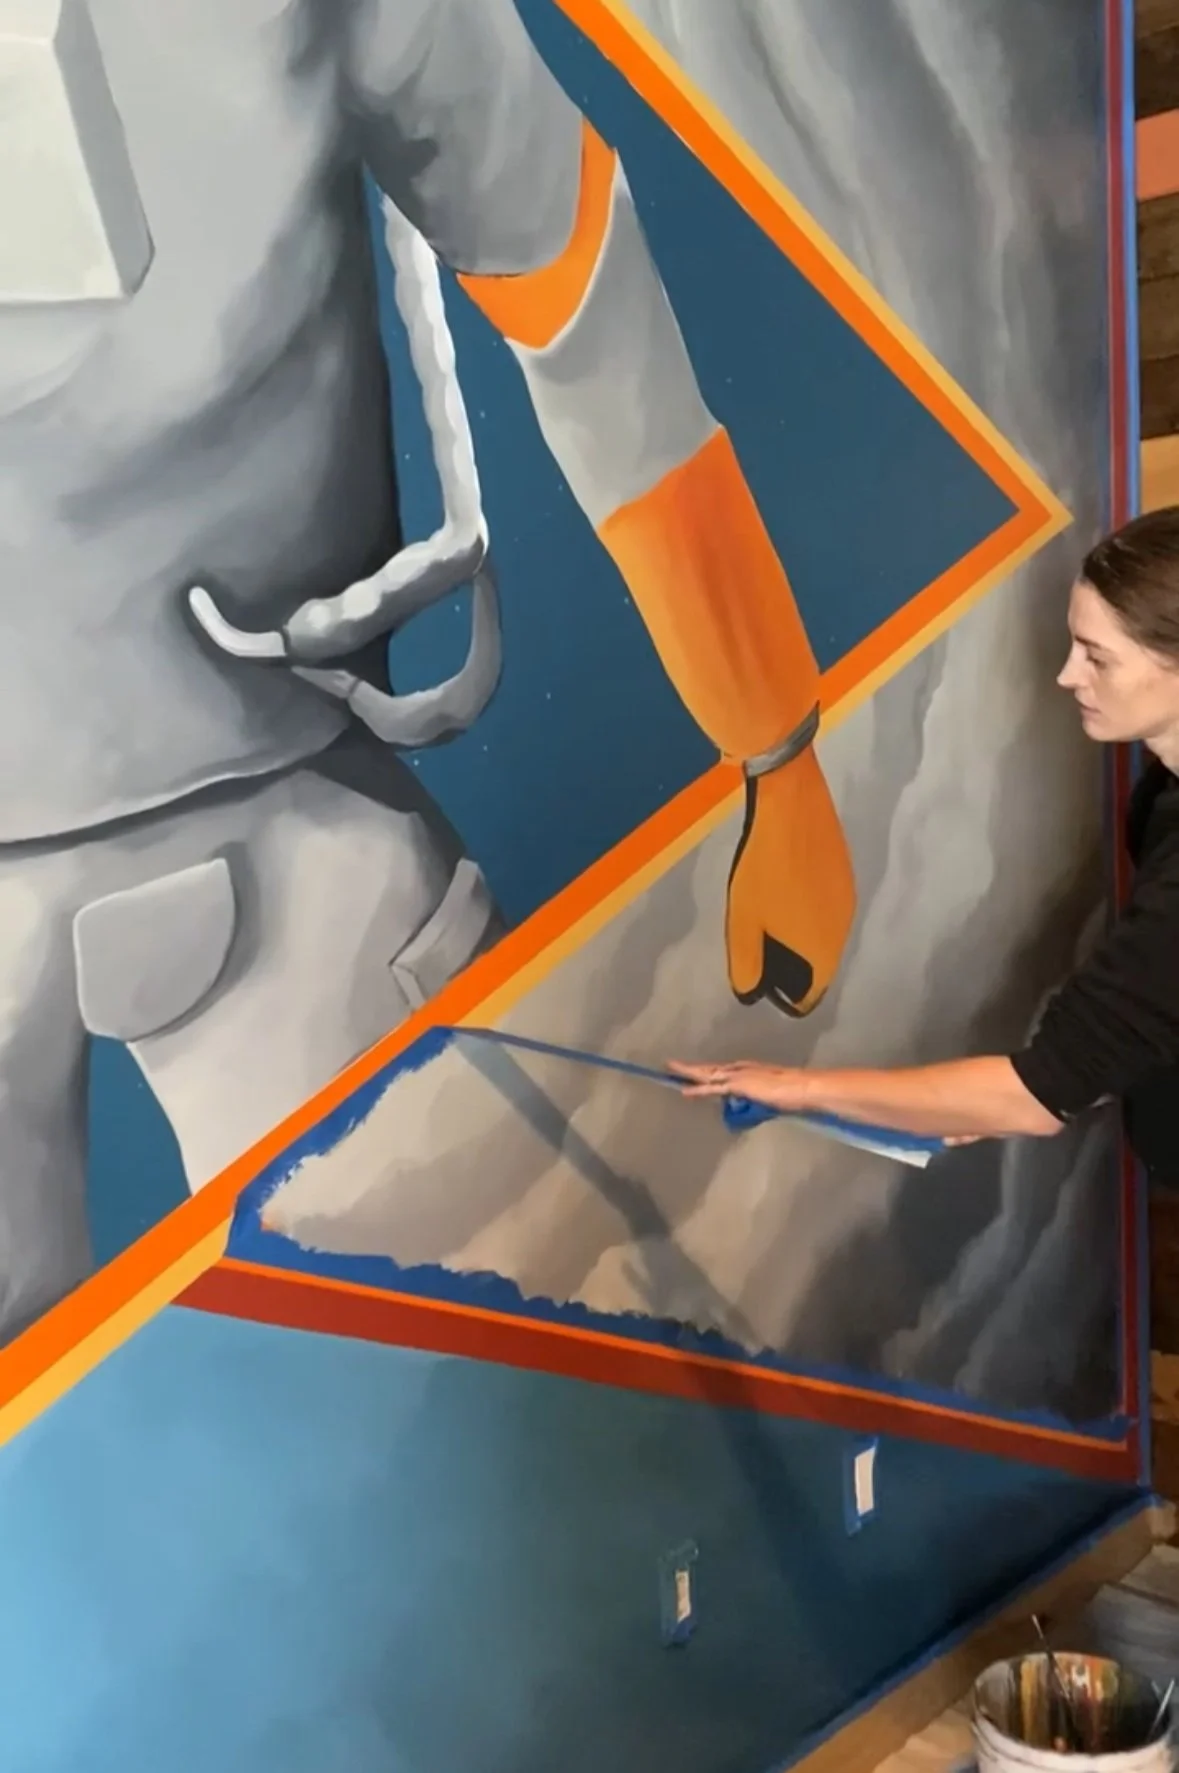
2. Masking for Overlapping Layers
You can use tape to mask off areas of transperant colors or shapes with masking tape to add dimension. I go over this in more detail in my blog about using different paint techniques.
• Work from Background to Foreground
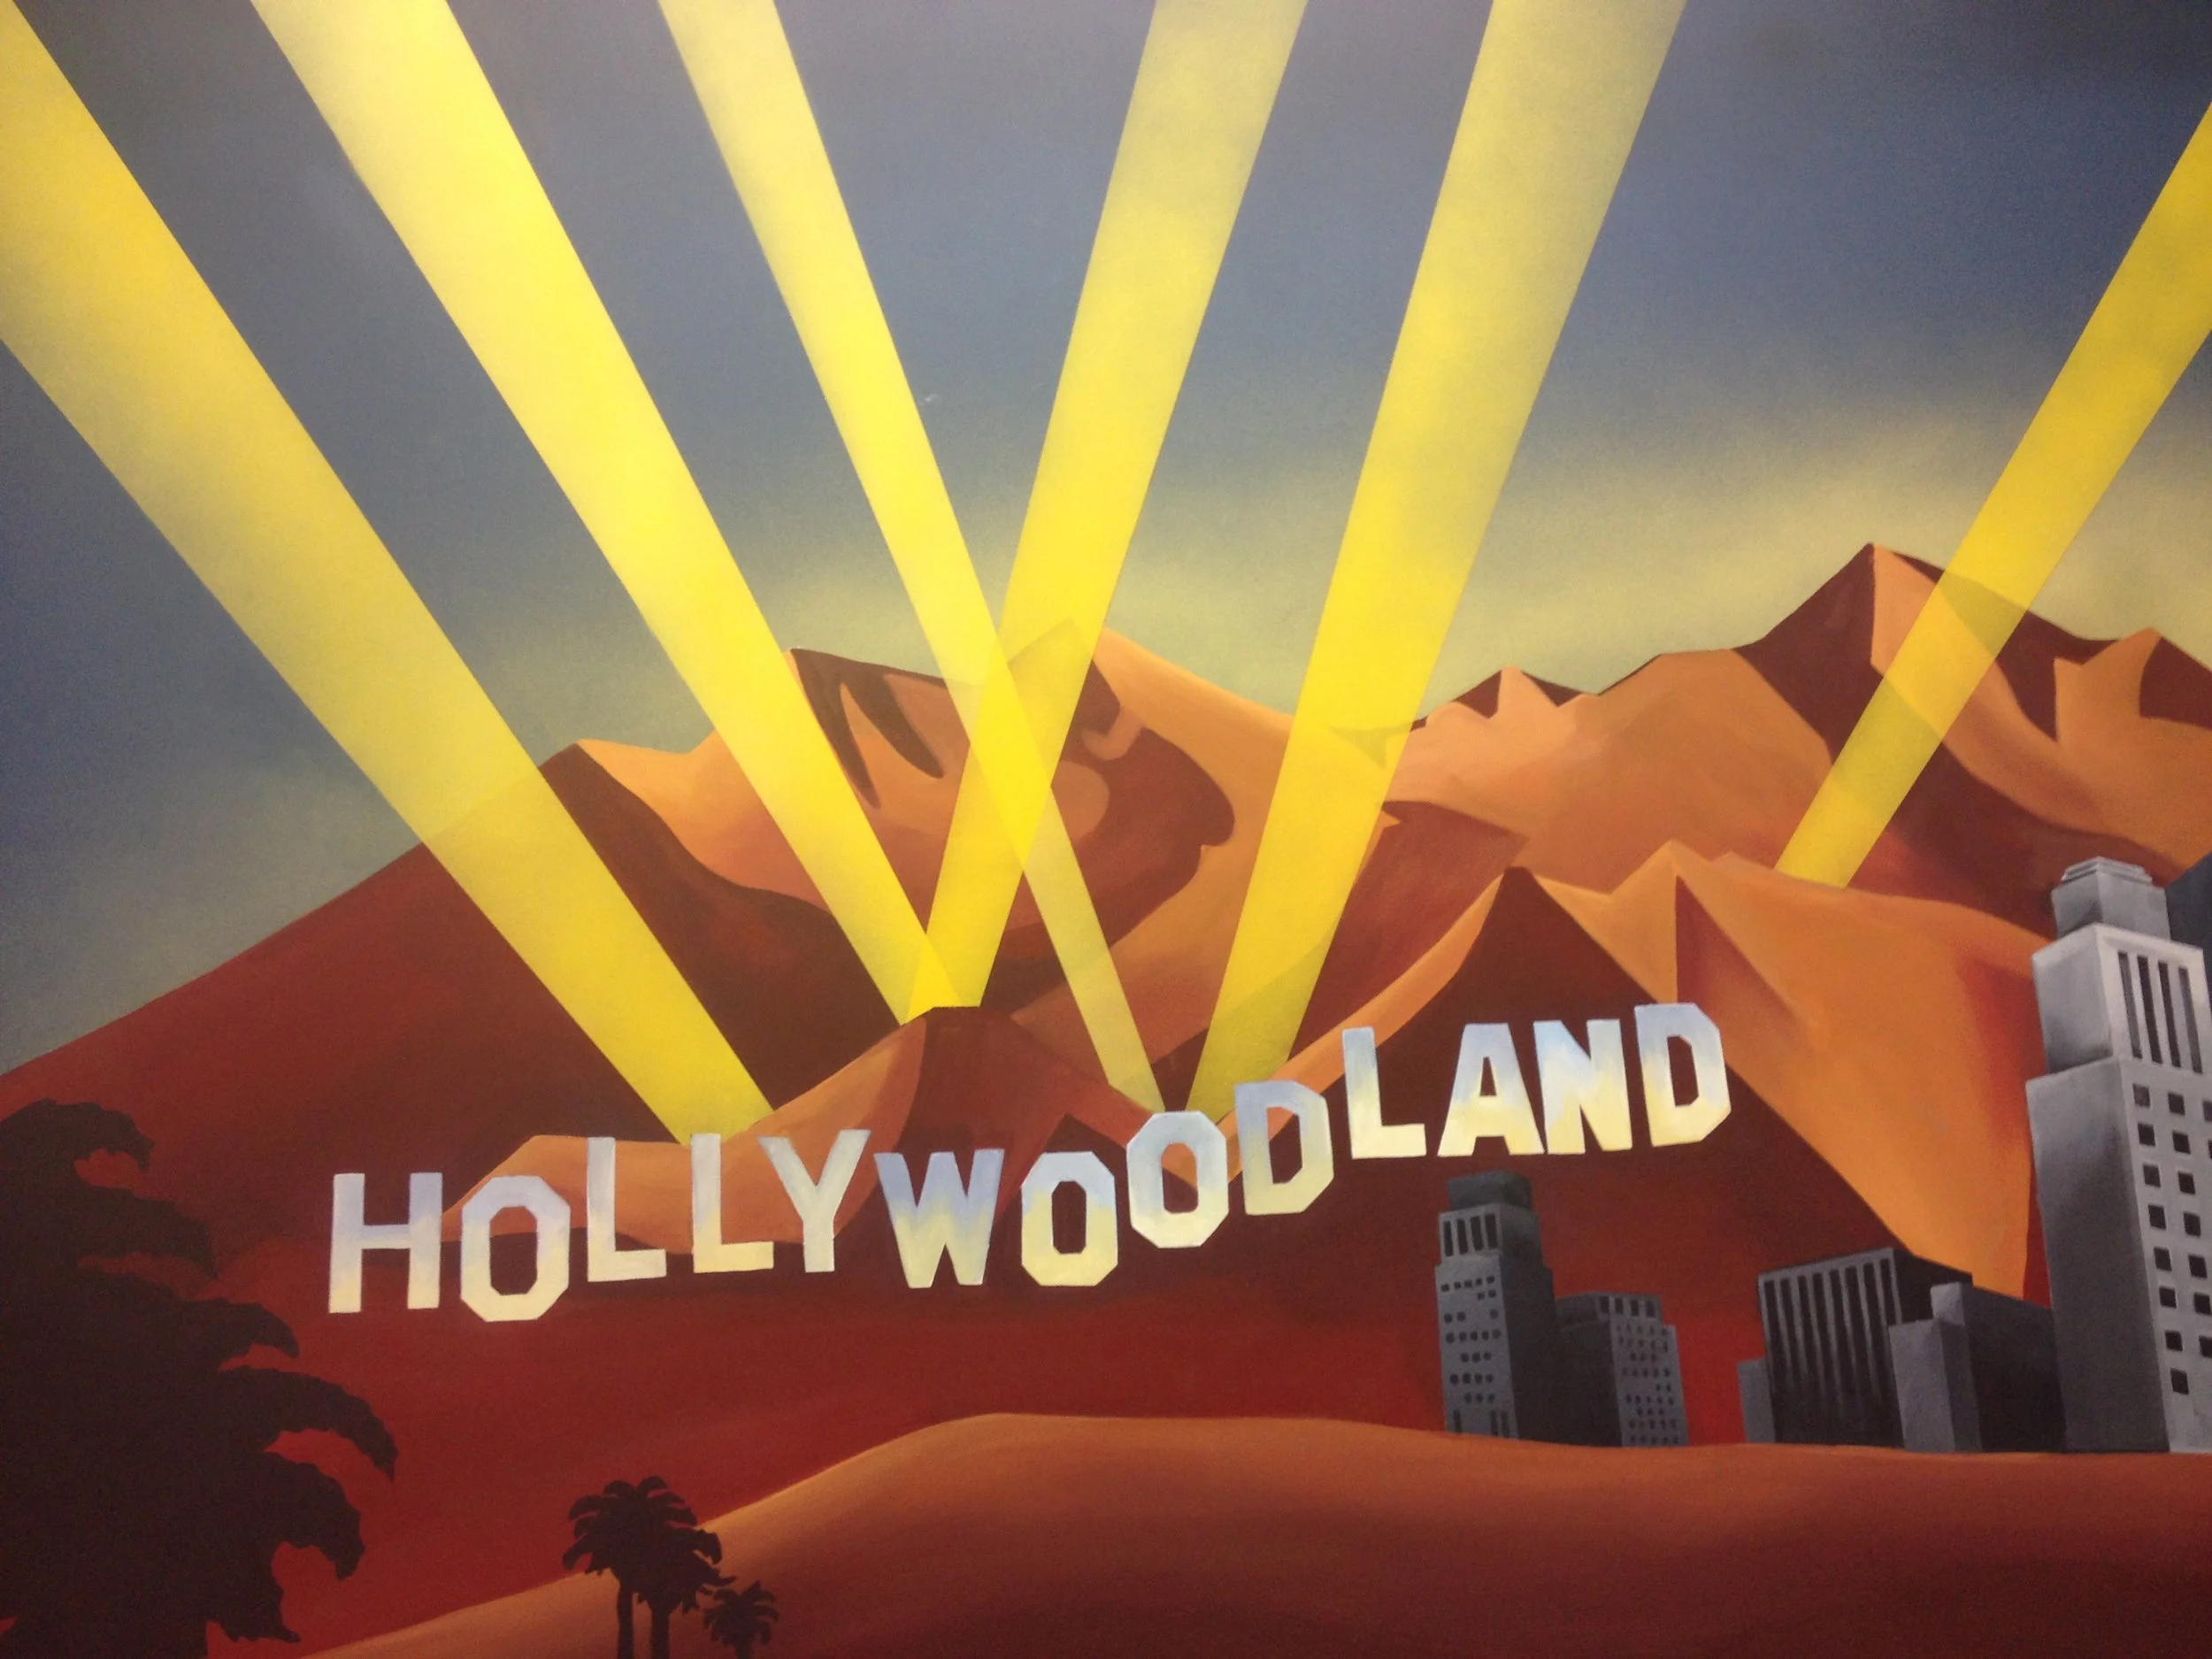
• Use Semi-Transparent Paints for Overlays: When adding layered effects, semi-transparent paints or glazes work well for achieving a soft overlap. Be careful of layering tape on top of glaze as it can peel up the glaze, use a low tack tape in this case. In the “Hollywoodland” example below I used a spray gun to get a more transparent effect.

3. Using Tape to Create your own stencils
If you need a custom repeating shape, you can make your own with tape as in the example below.
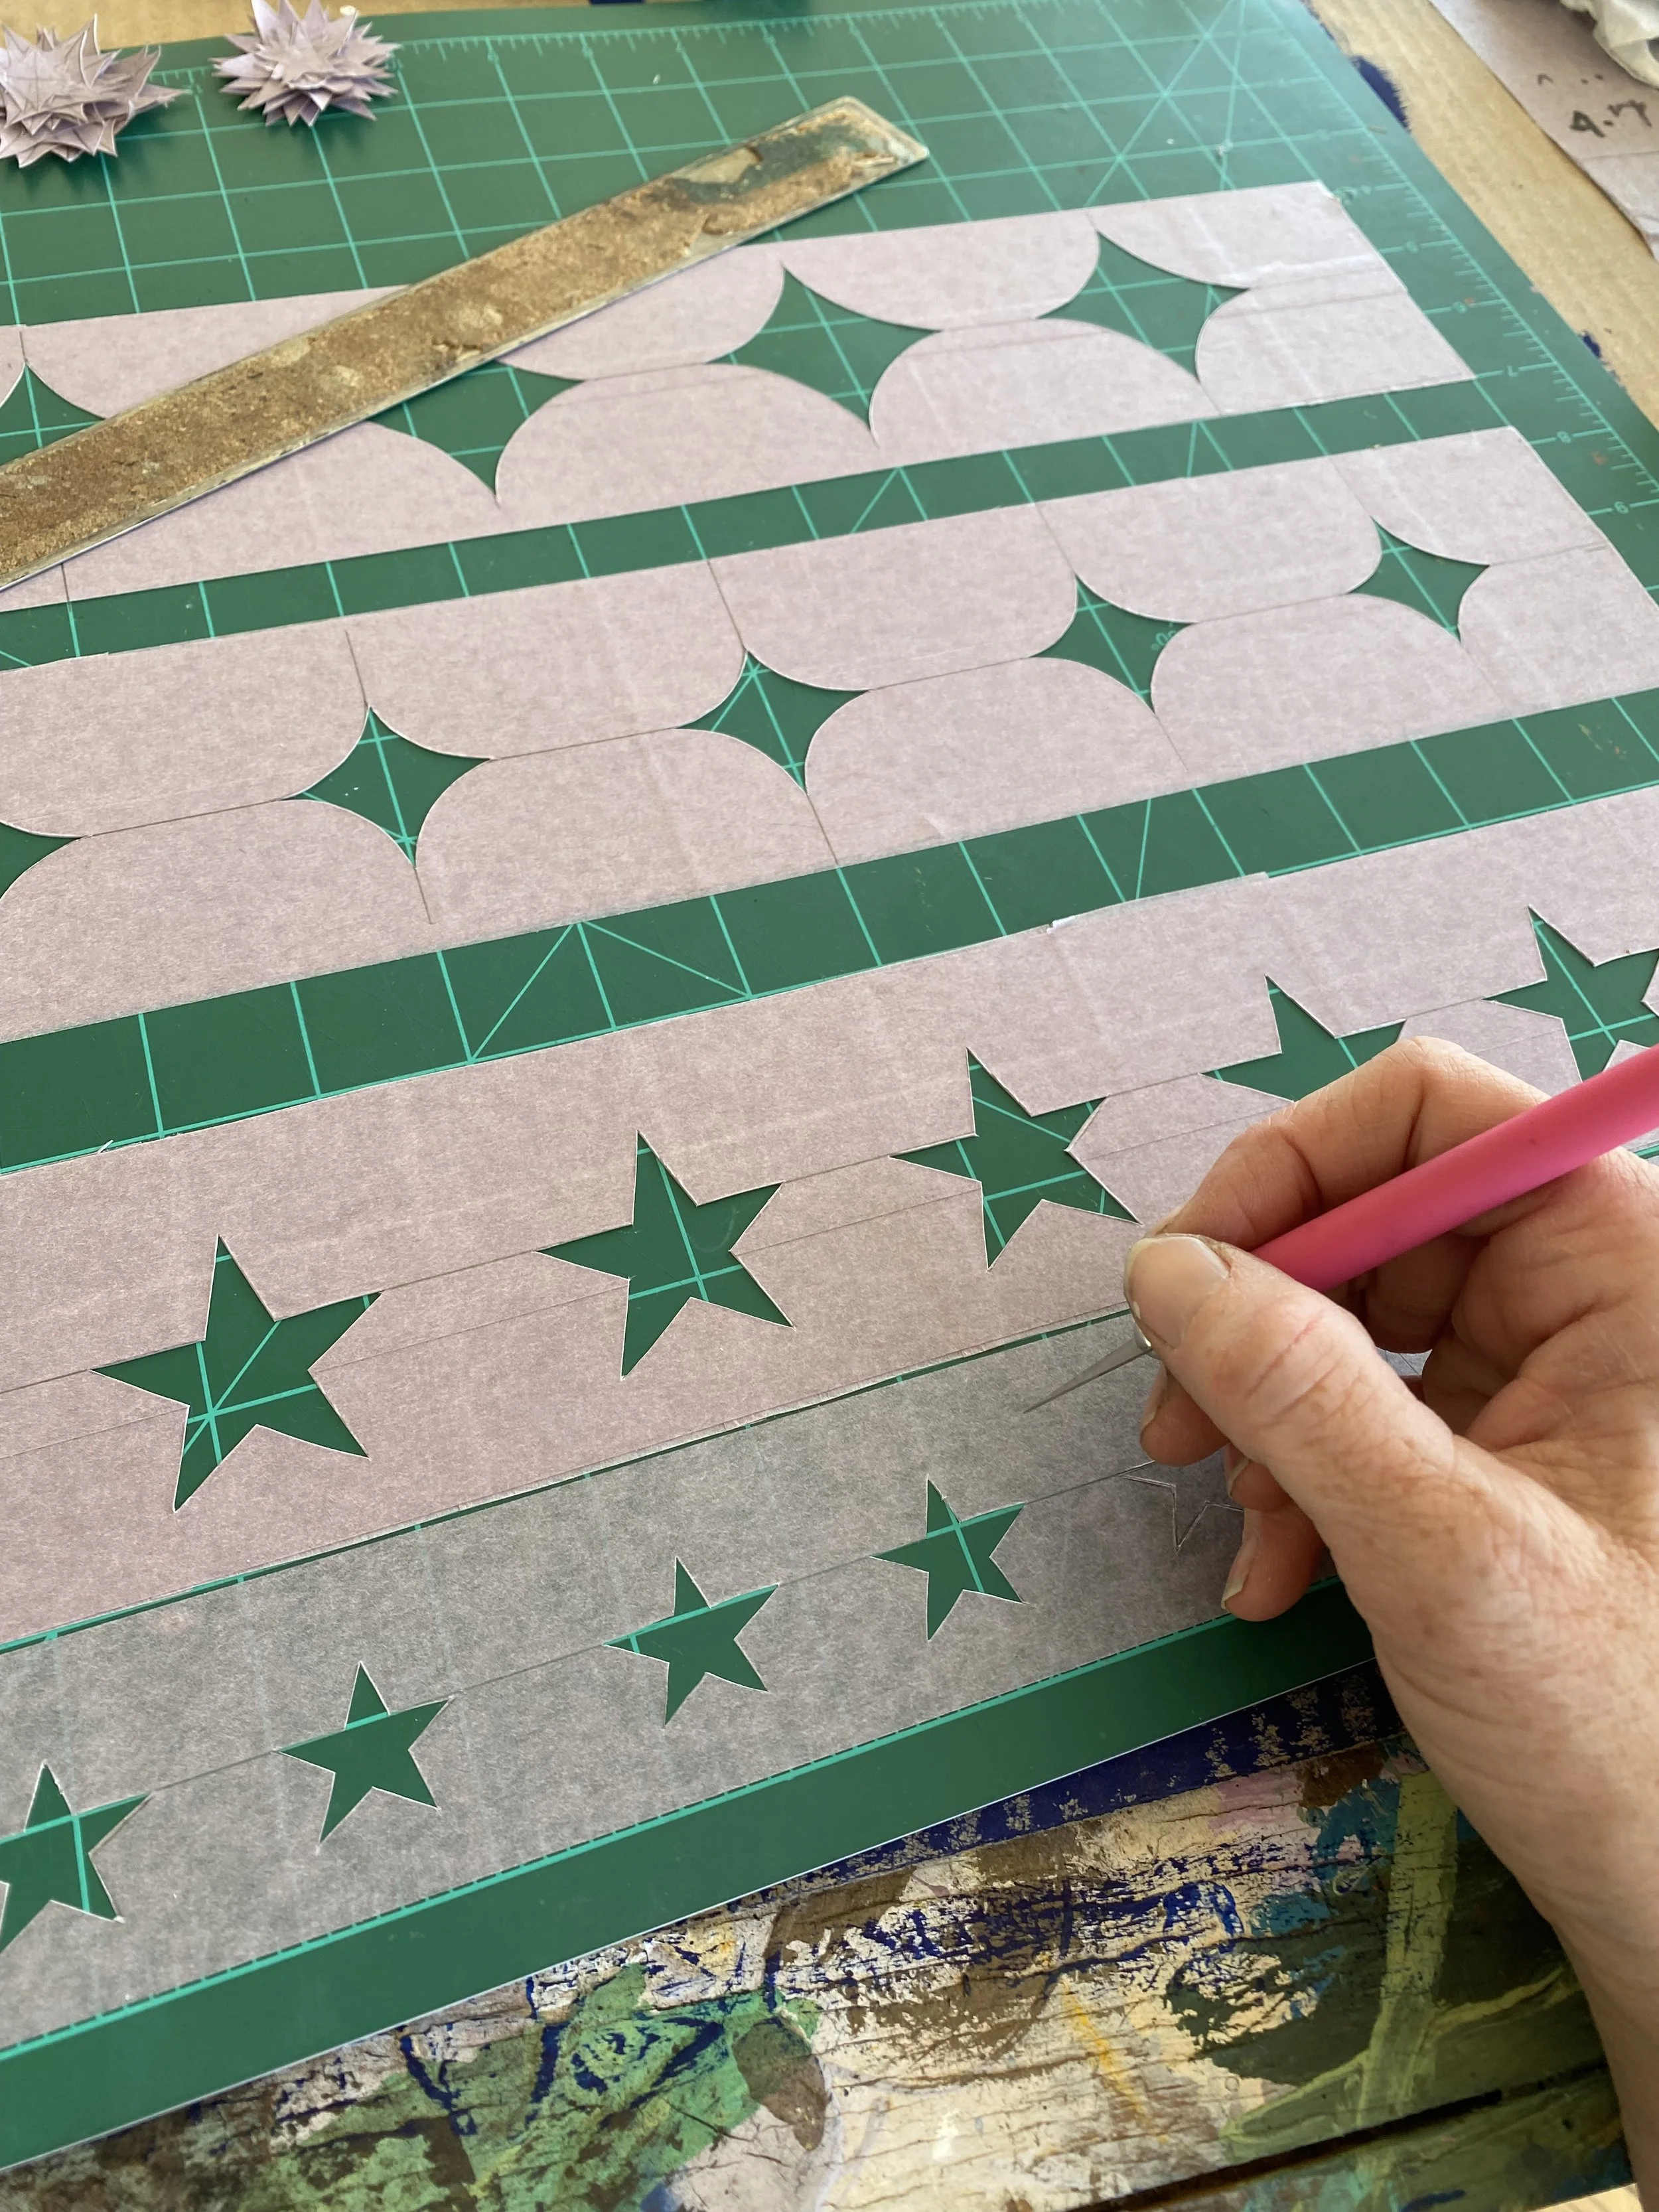
I cut out my own custom stencils using tape.
Types of Tape for Mural Painting (and When to Use Them)
Now that we’ve gone over some common paint techniques, let’s get into the various types of tape, so you’ll know which kind I like best! Here’s a breakdown of the most common types you’ll encounter, plus when and why to use them.
1. Blue Painter’s Tape
Use for: General masking on walls, ceilings, or surfaces that have been recently painted. I use this when I’m masking out baseboards and basic projects.
Pros: Easy to find, gentle adhesive, won’t pull off paint if removed properly.
Cons: Can bleed under edges with thin paints or watery mediums unless sealed.
2. Green FrogTape (Multi-Surface)
Use for: Crisp, clean lines on slightly textured or semi-gloss surfaces. I use this when I need a closewr attention to detail and am not worried about budget.
Pros: Has a paint-blocking polymer that helps prevent bleed-through; works great on drywall and smooth masonry.
Cons: Slightly more expensive than standard blue tape.
3. Delicate Surface Tape (usually yellow or purple)
Use for: Taping over freshly painted walls (24+ hours dry) or more fragile surfaces like murals with sensitive blending or glaze.
Pros: Low-tack adhesive that minimizes risk of damage or lifting paint.
Cons: Less durable for long-term use or heavy paint layers. Low-tack means it’s not as sticky and easy to use.
4. Masking Tape (Beige)
Use for: Temporary holds, labeling, or rough masking on non-painted surfaces.
Pros: Cheap and accessible.
Cons: Not designed for clean lines—can bleed and leave residue.
5. Gaffer Tape
Use for: Taping equipment or masking on rough surfaces like brick or concrete where other tapes fail. Keep a small roll on hand for utility purposes—like securing cords or taping tarps.
Pros: Strong hold, residue-free removal, flexible.
Cons: Expensive and overkill for most mural needs.
6. Vinyl or Auto Striping Tape
Use for: Ultra-crisp lines or curves, especially on smooth surfaces like glass, metal, or sealed panels.
Pros: Comes in narrow widths, sticks tightly, great for pin-striping or thin detail lines.
Cons: Not for raw or absorbent surfaces like brick or stucco.
Pro tip: Ideal for murals that mimic graphic design or require fine line work
Final Thoughts
Painter’s tape is a versatile and valuable tool for muralists, and I’ve only just scratched the surface showing various examples of how I have used tape in my artwork. Beyond being just a time saving tool for precision, experimenting with tape can help you add new textures, patterns, and dimensions to your murals, and bring your creative vision to life.