How to Get Your Mural on the Wall: 6 Transfer Methods Every Muralist Should Know
From VR Headsets to old school pounce patterns, there are lots of ways to get your mural design on a wall. Here are 6 mural transfer methods that I’ve used over the years, along with tips, tools, and resources to help you pick which one works best for your project. Frequently I’ll use multiple methods within each mural.
1. Freehand Drawing
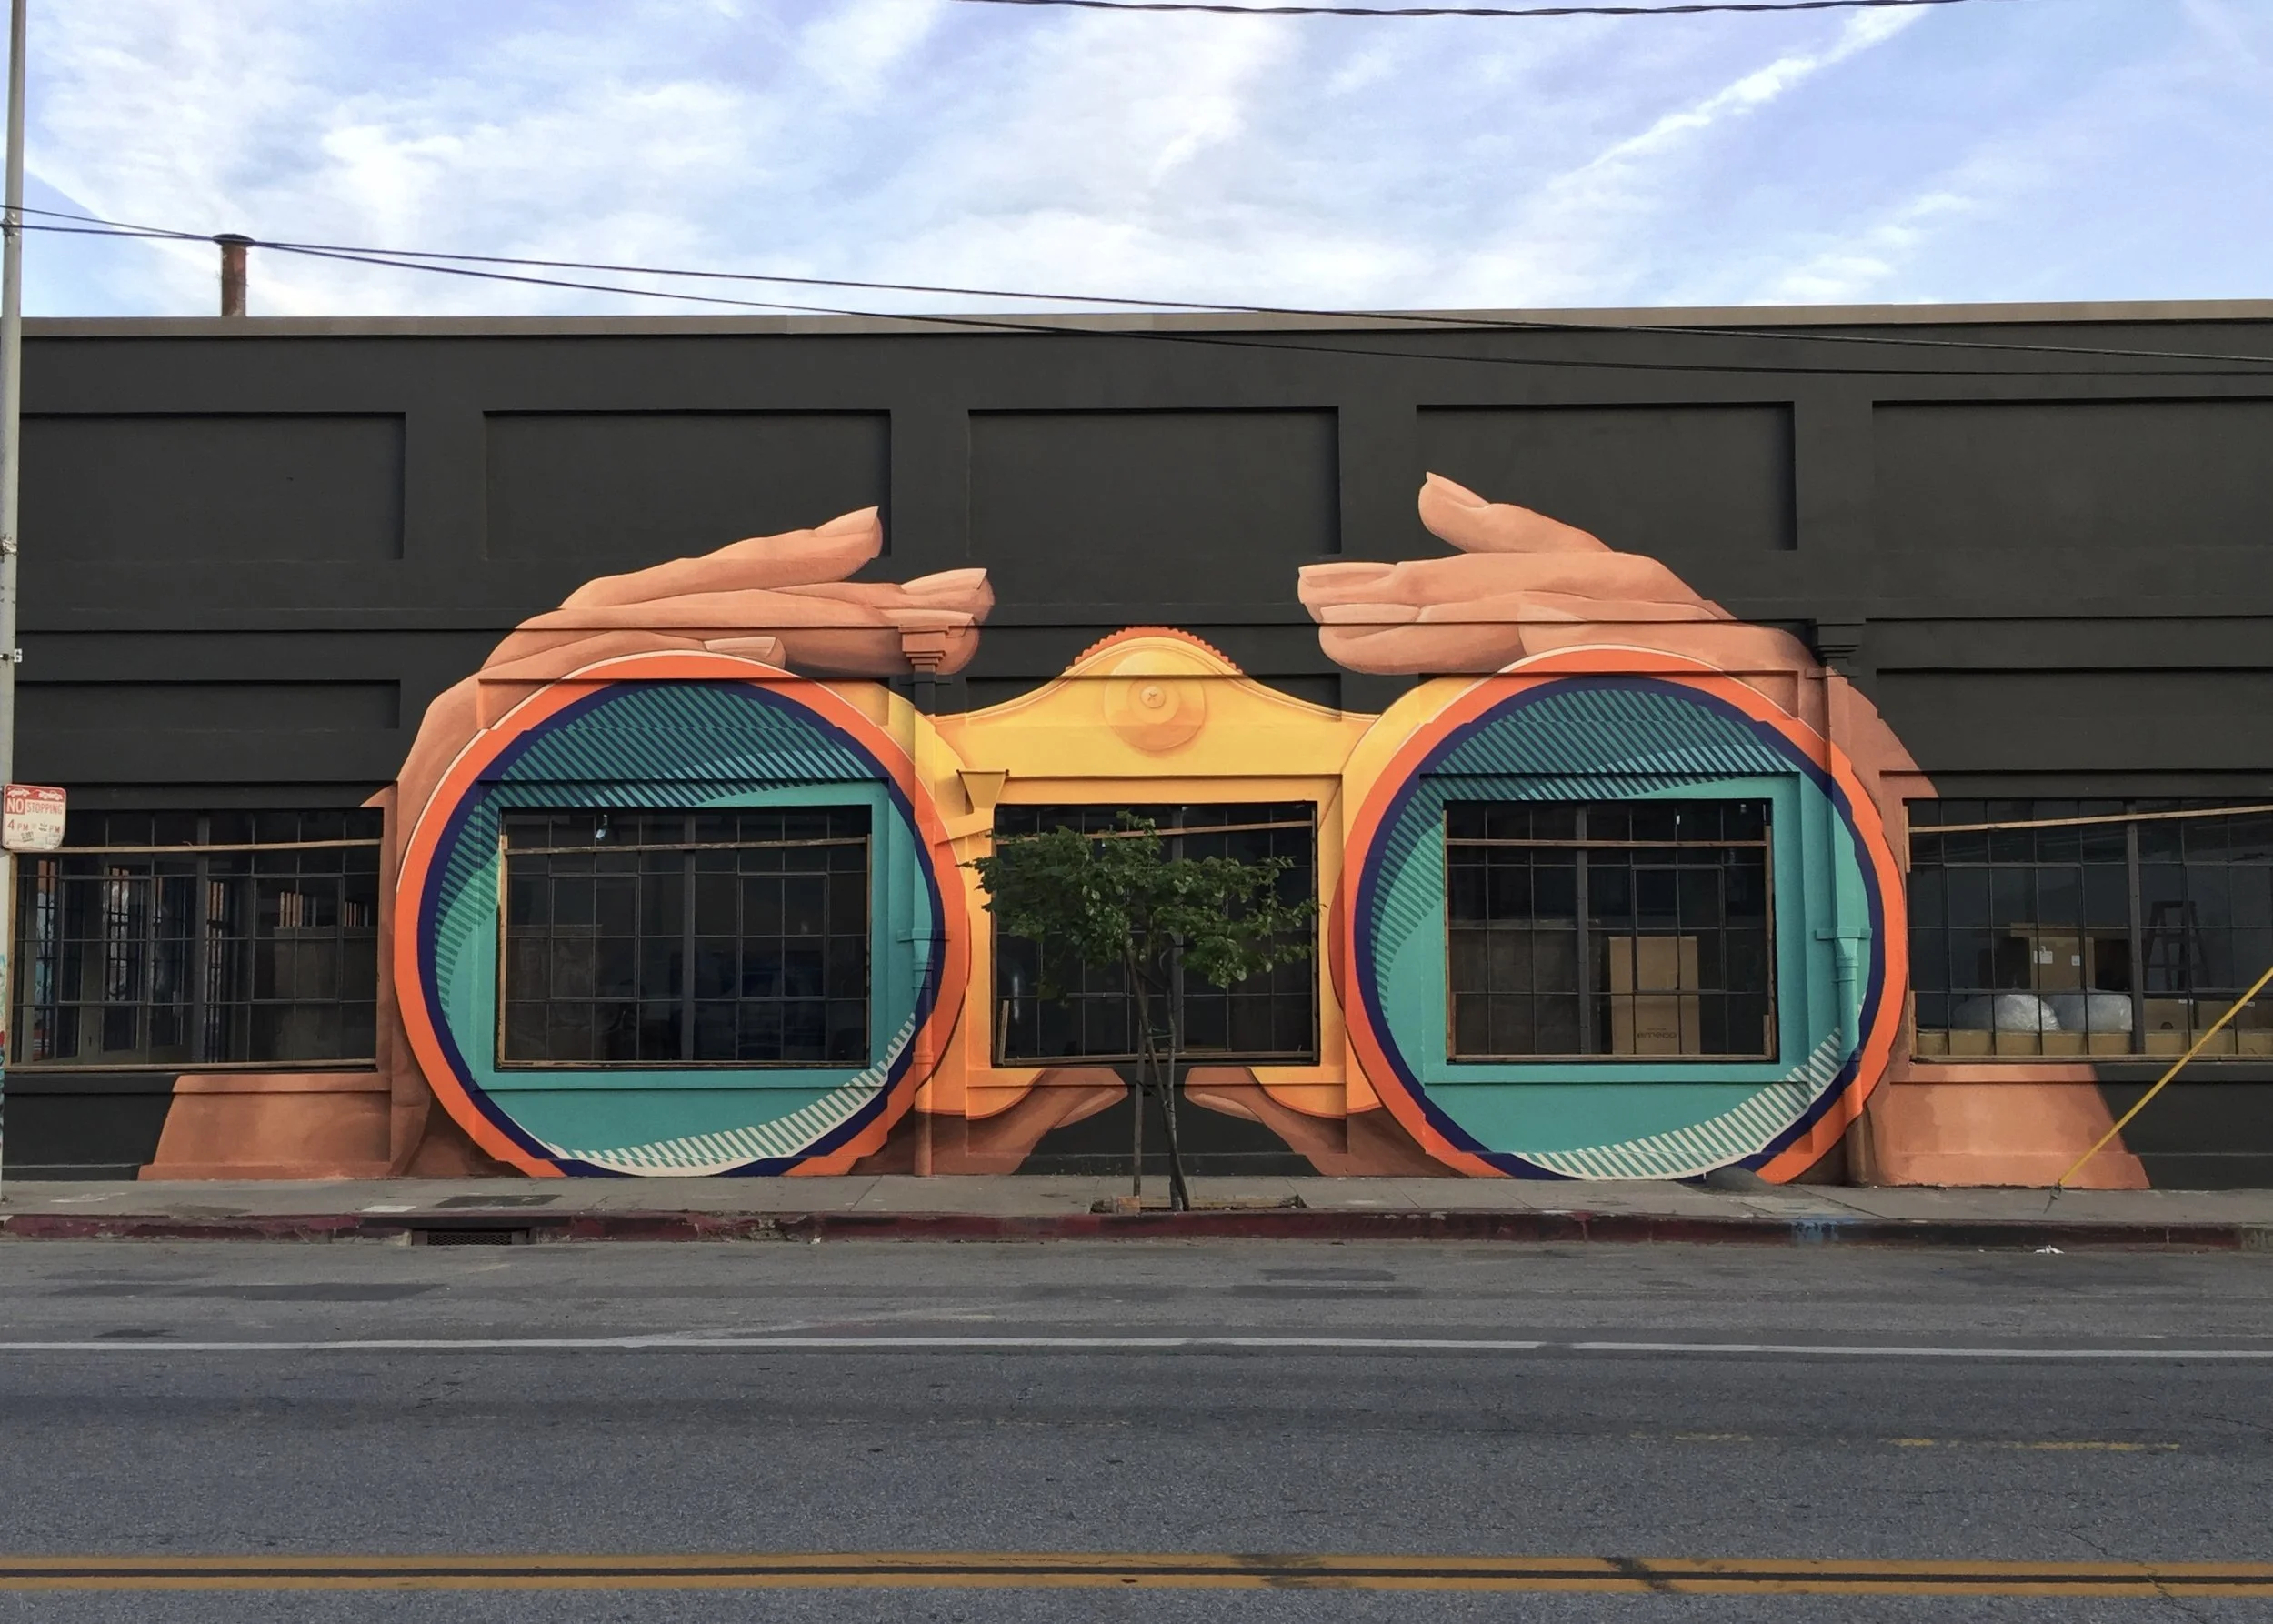
Above are examples where I have used freehand drawing to layout the mural design. It’s exactly what it sounds like: drawing your mural directly onto the wall by eye. Sometimes you can’t project or it’s just faster to get started painting. I still used reference imagery and an approved client rendering before starting in these examples.
Best For: Small walls, organic or doodle styles, and for artists already comfortable drawing on a large scale.
Pros:
Can be faster to get started
No tools or setup required
Allows for improvisation and flow
Cons:
Clients have to trust you in case your mural doesn’t look 100% exactly like the rendering- if there is a rendering in this case!
Requires confidence in proportion
Mistakes are harder to fix mid-process
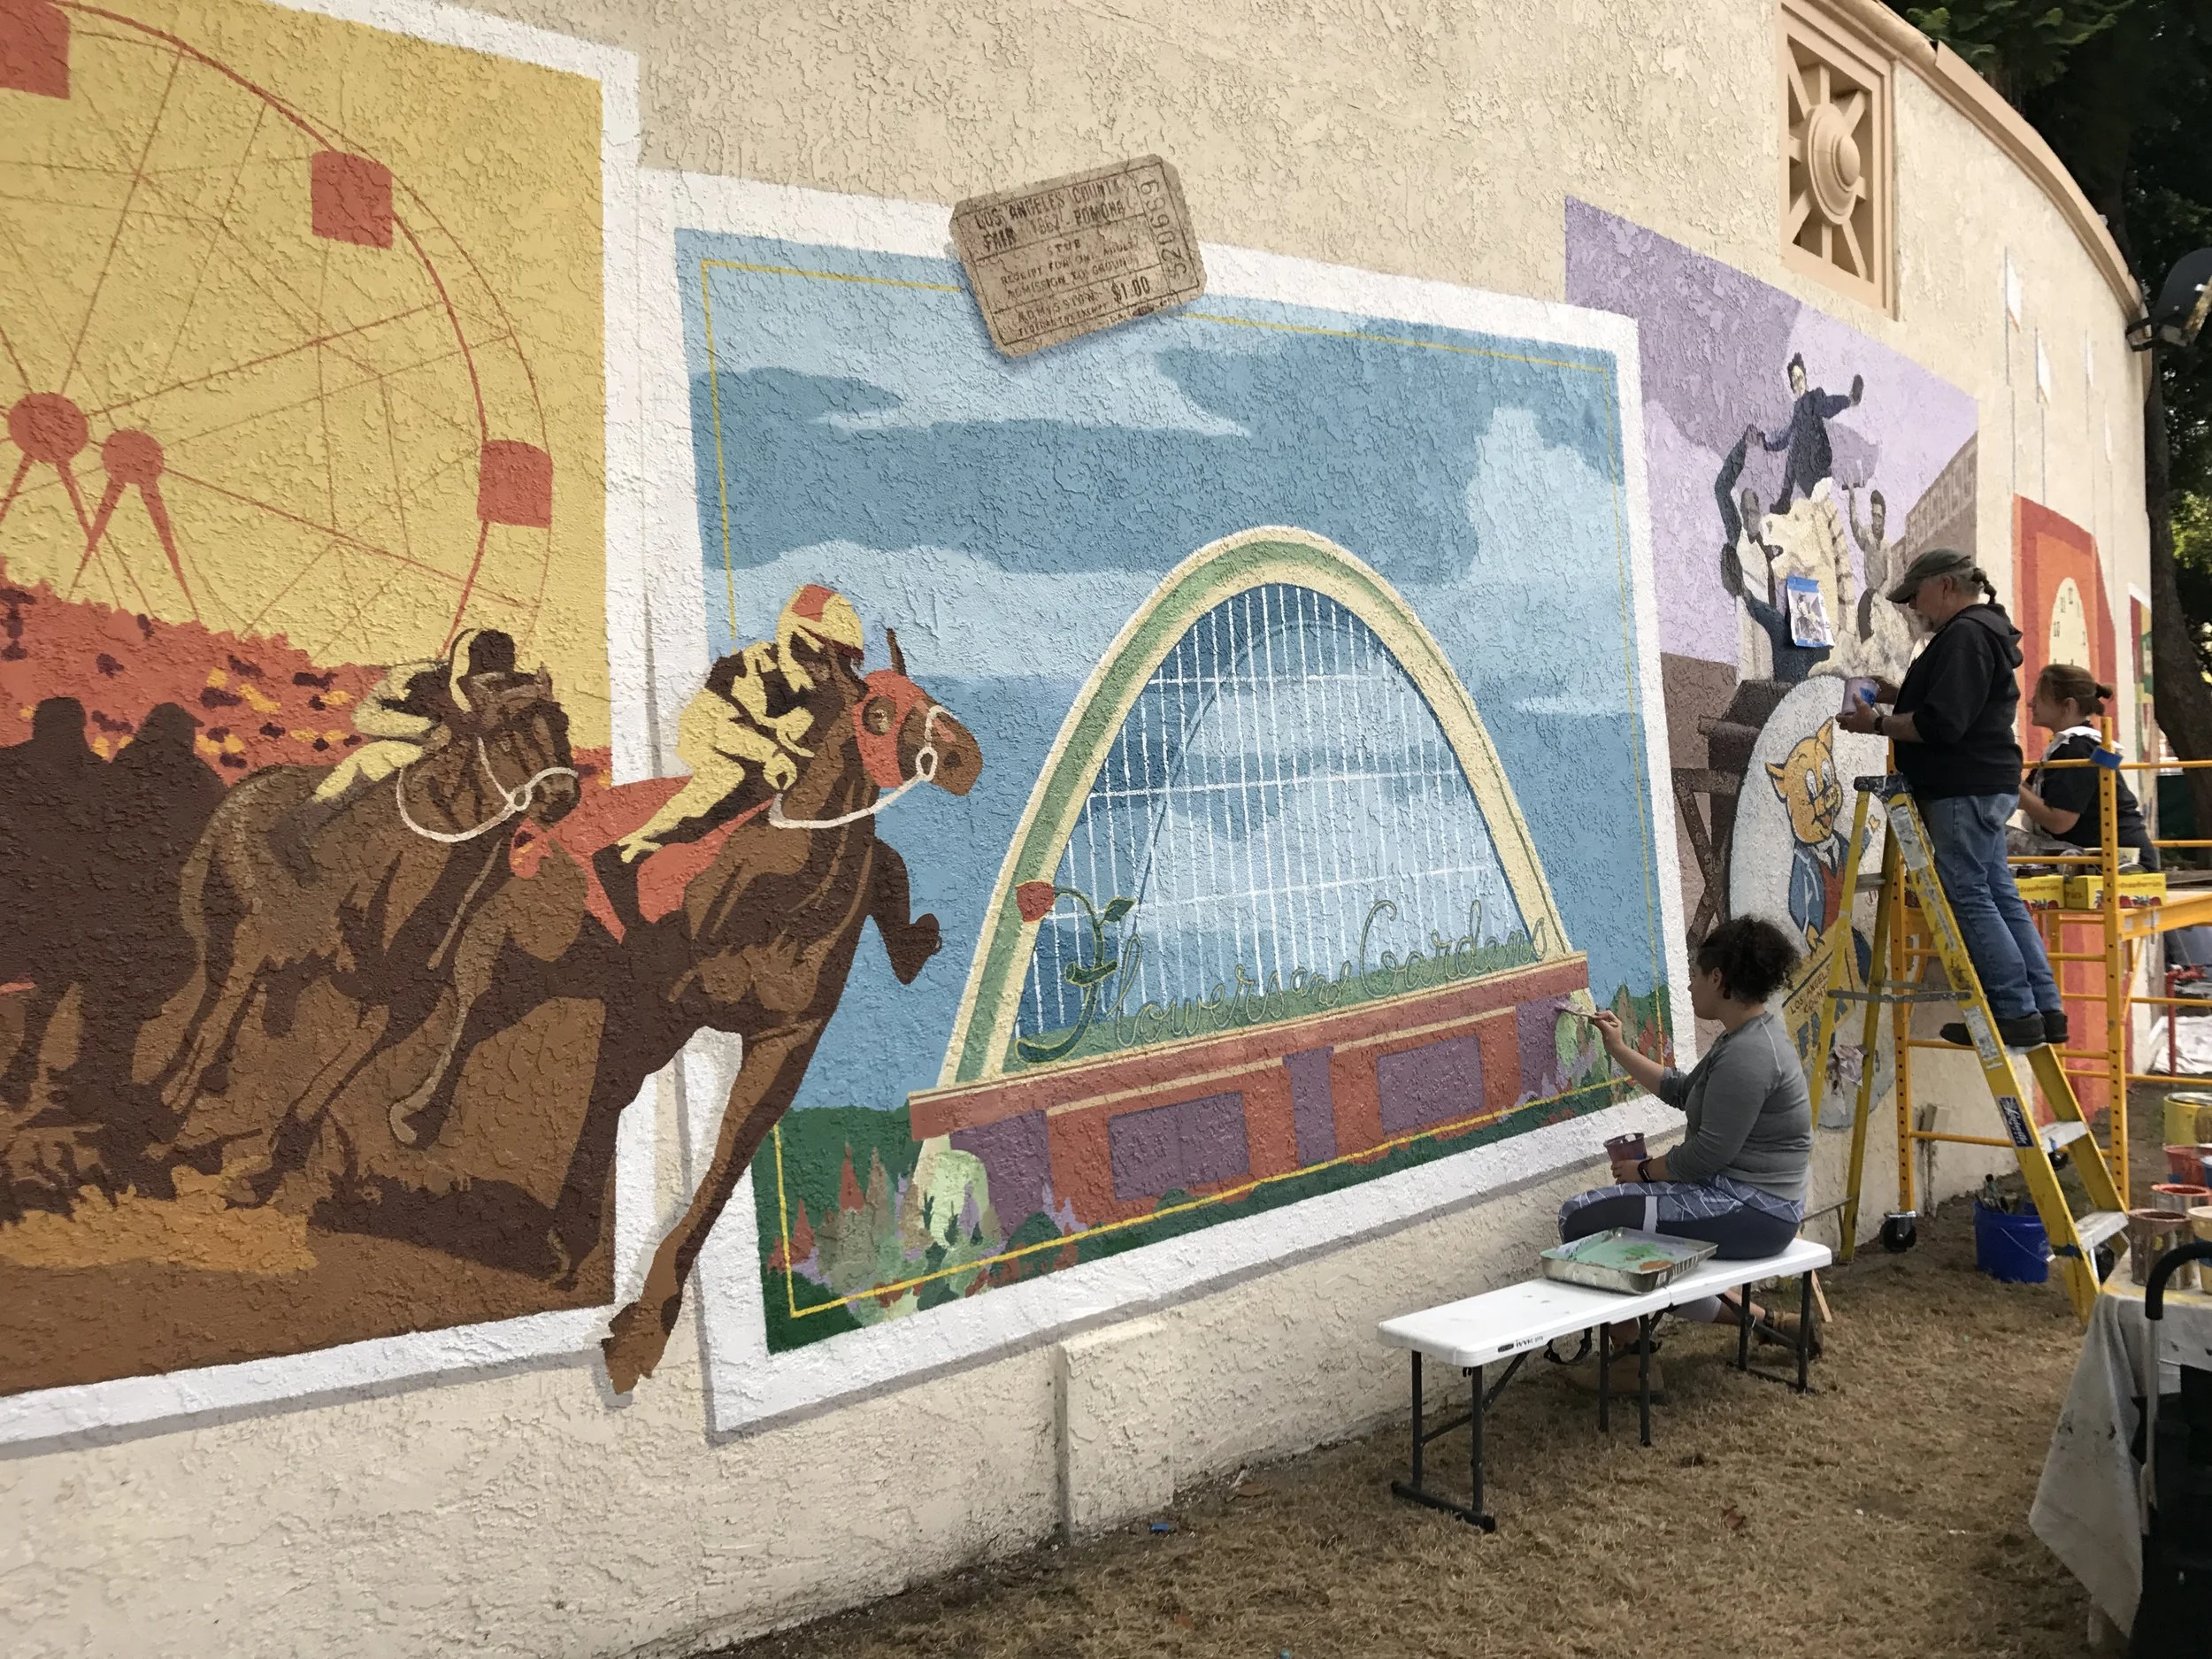
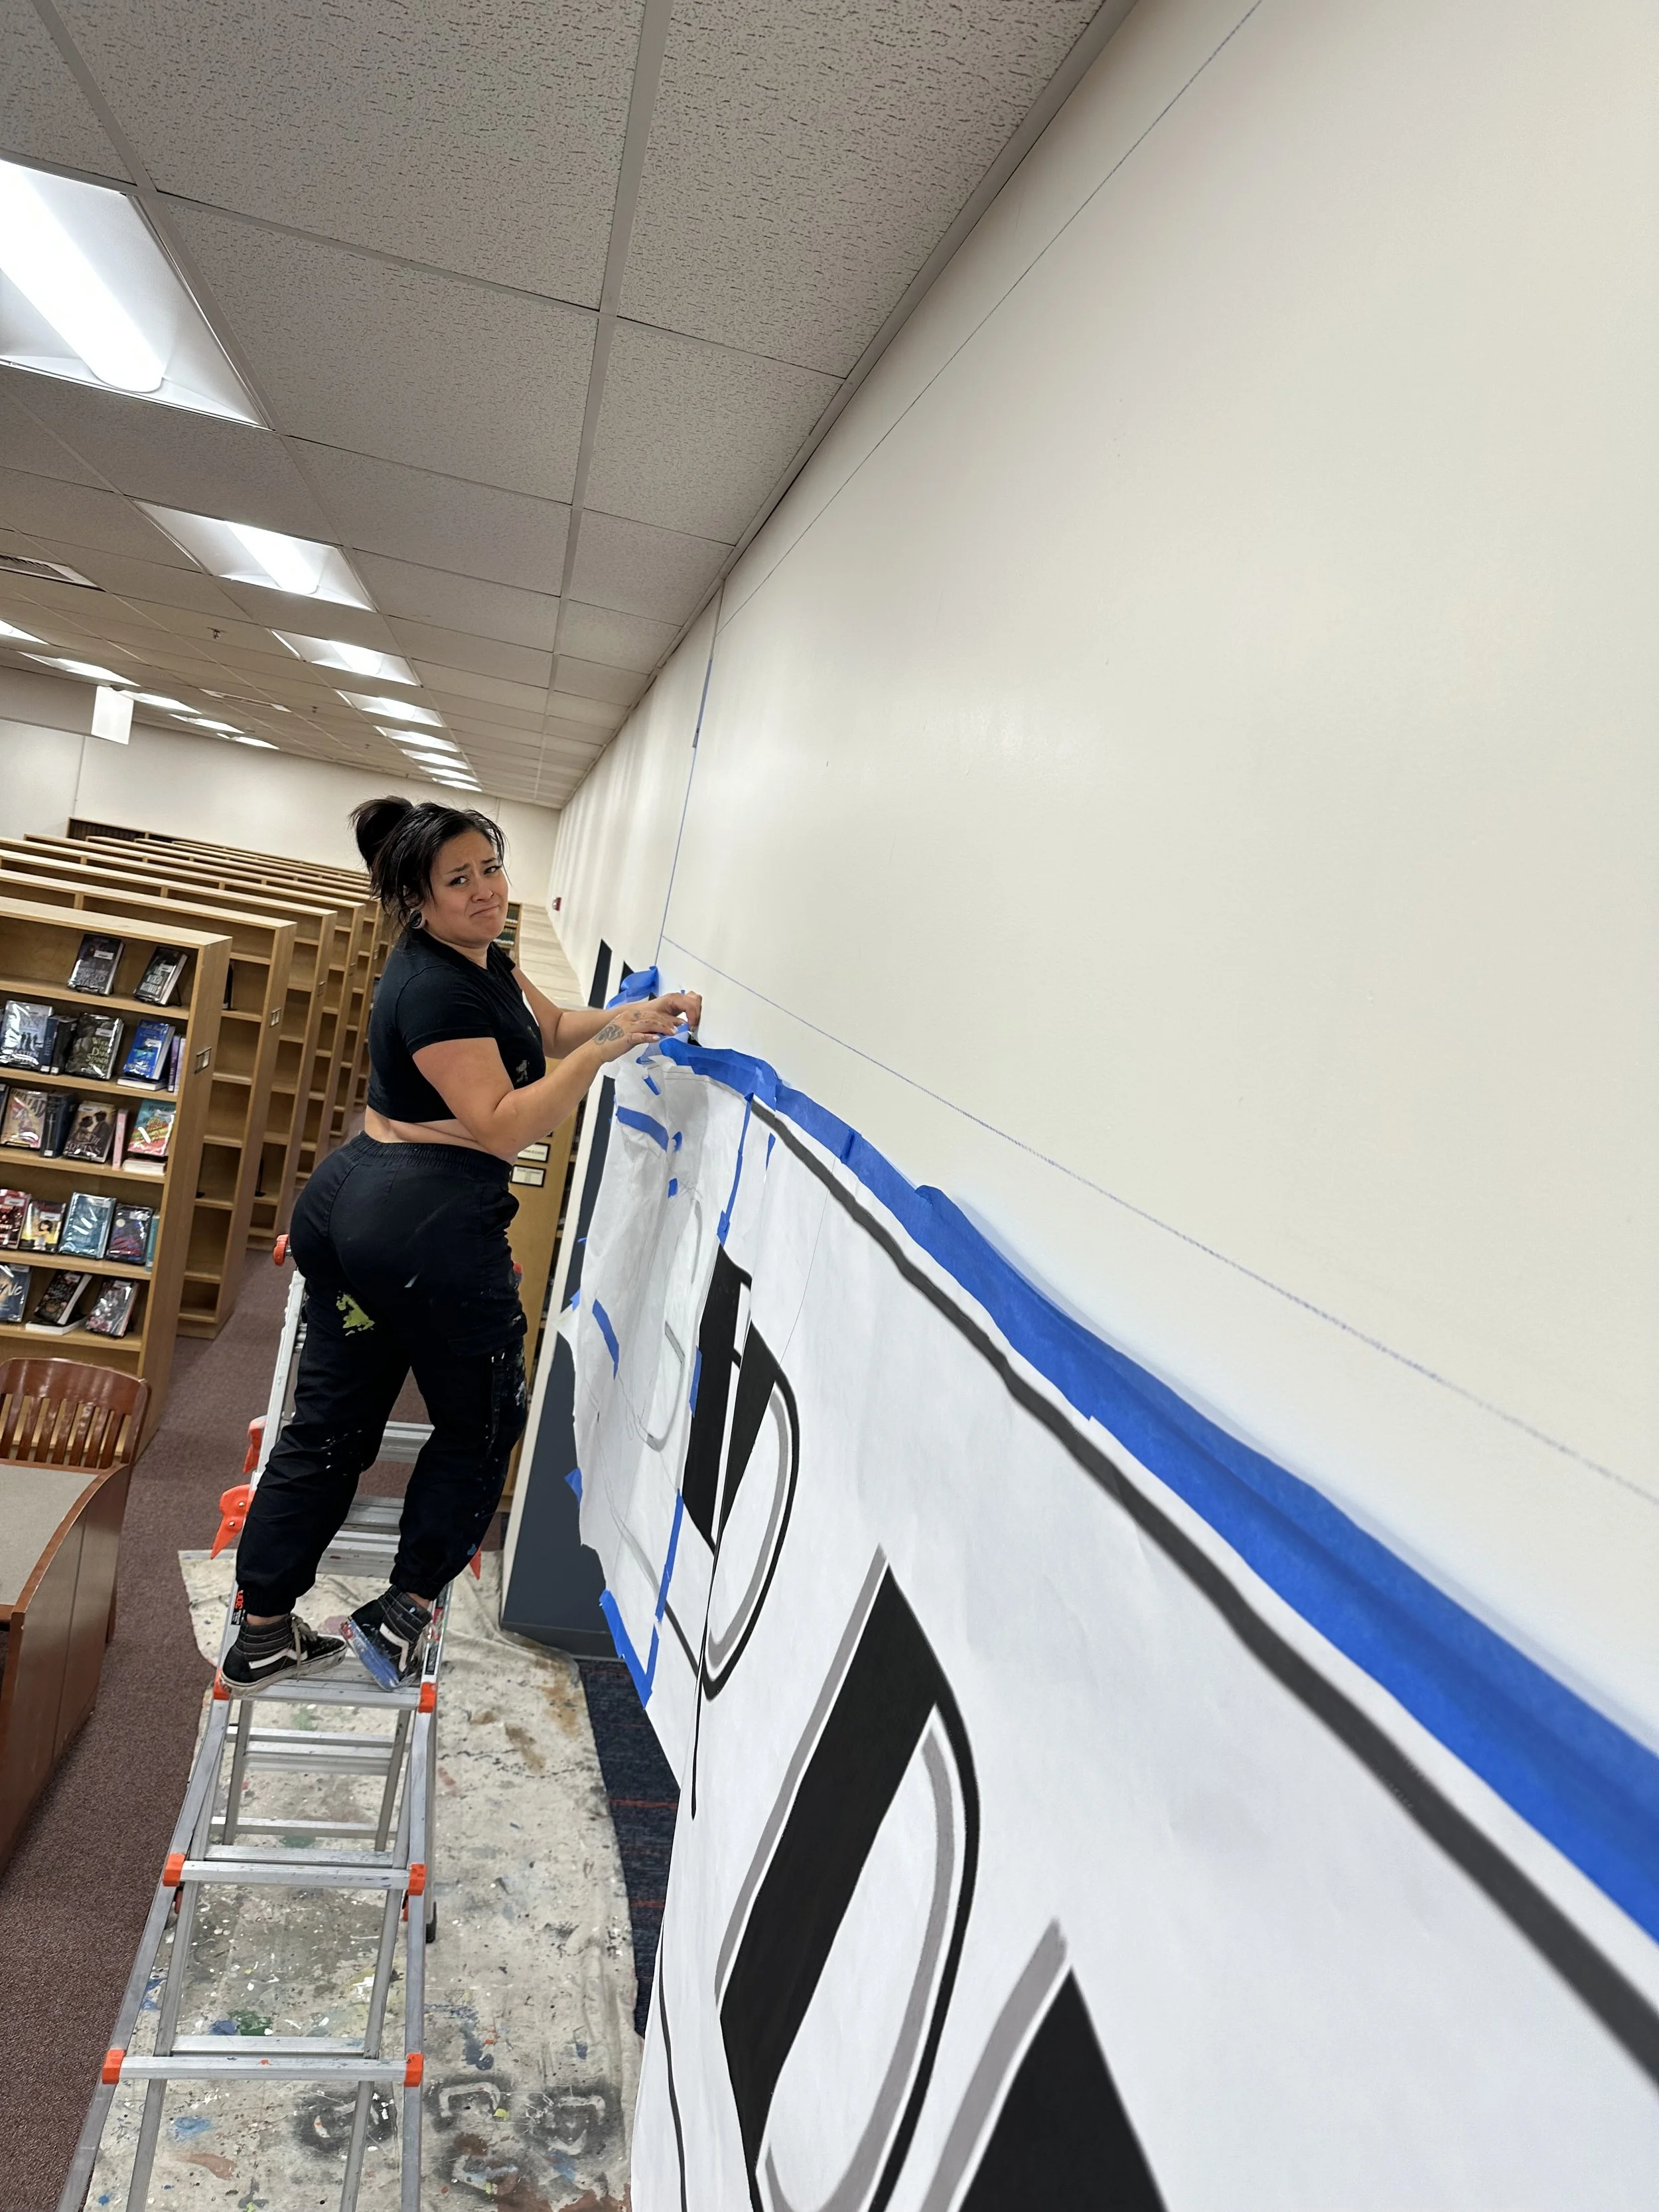
2. Grid Method
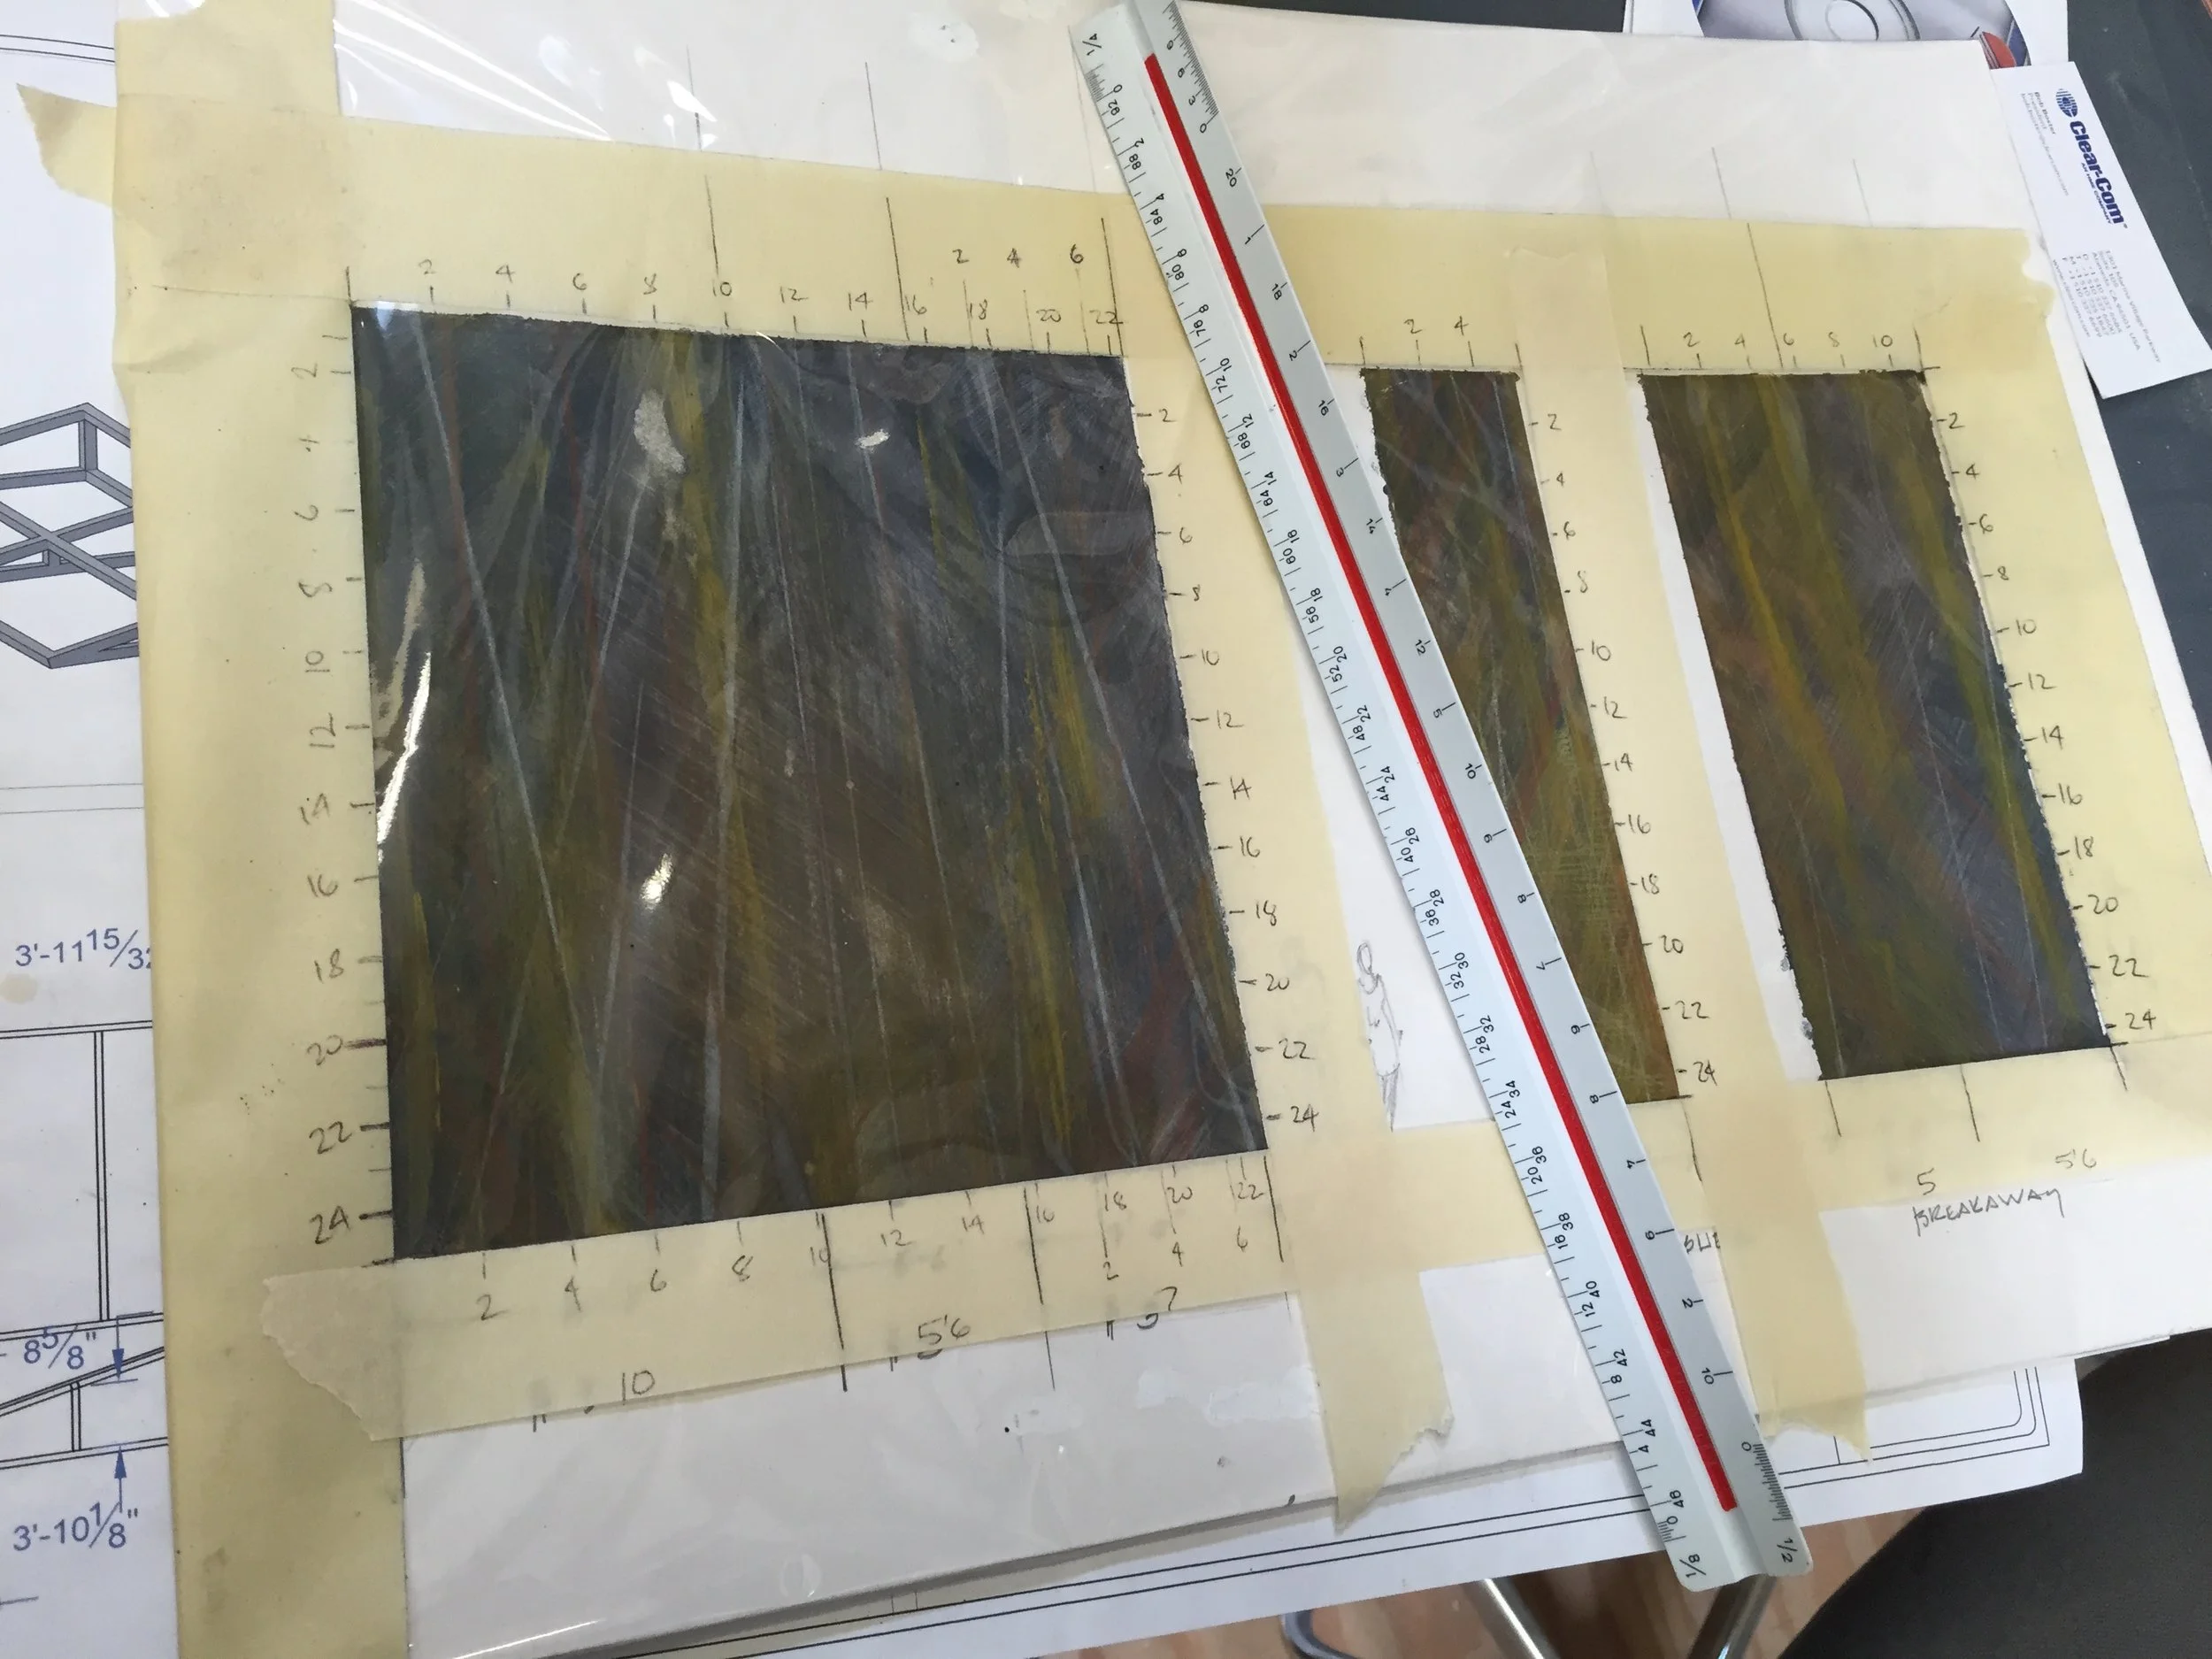
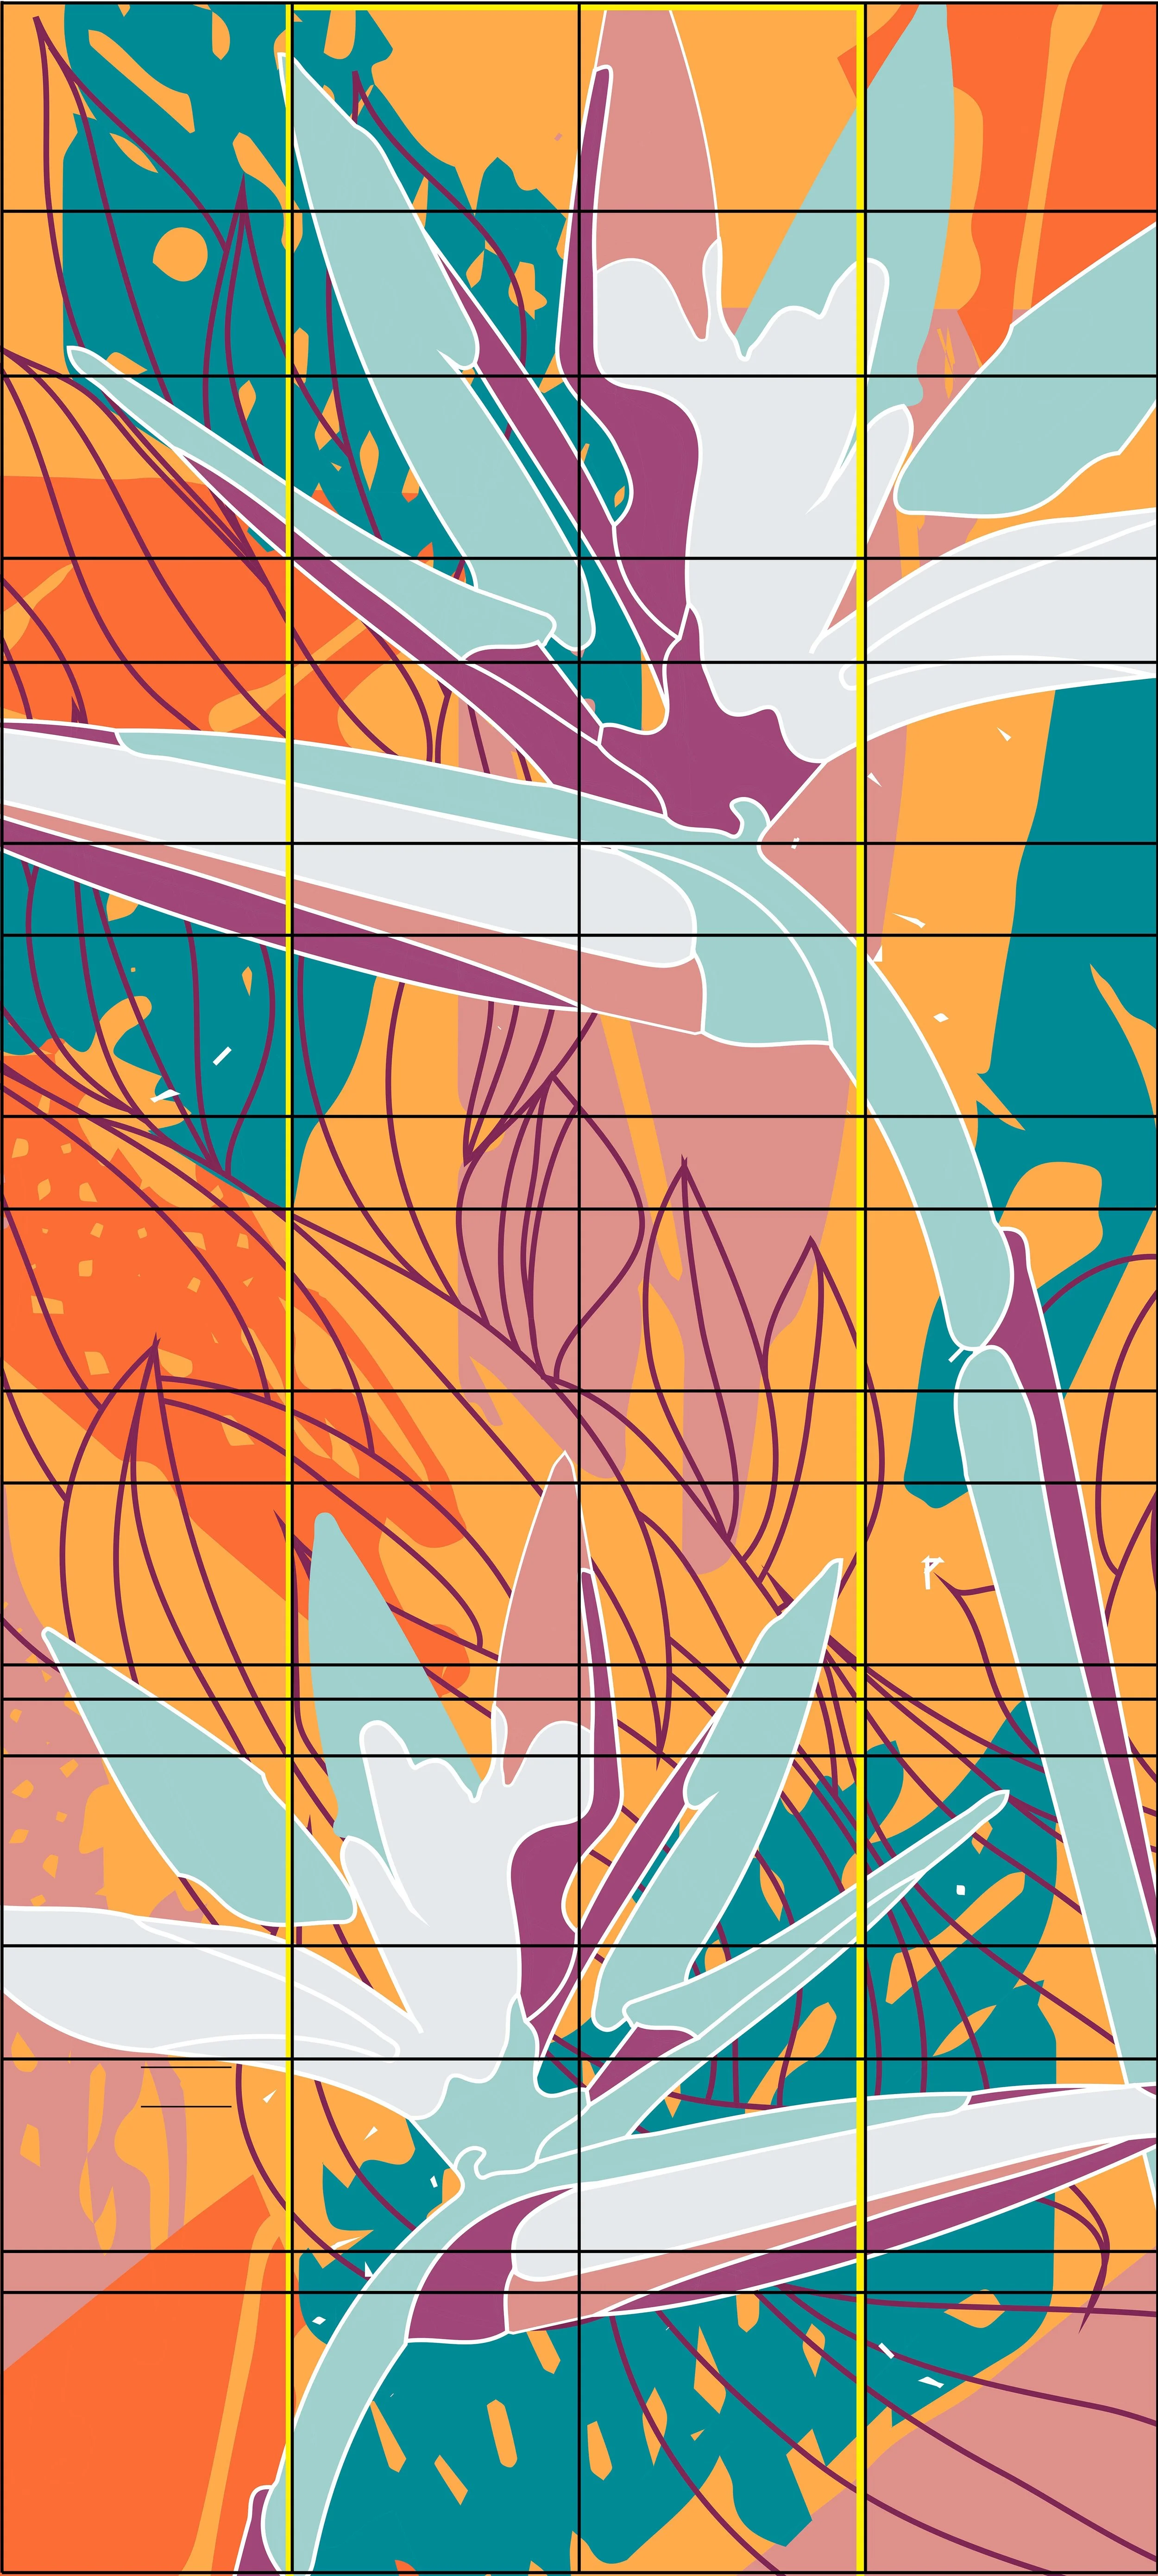


In this method, you draw a grid over your design and recreate it square by square on the wall, scaled up to size. You need correct measurements of your wall and your rendering needs to be to-scale. You don’t have to use a computer to do scale measurements, as you can see in the left image.
Best for: Murals where your image needs to be the exact right proportions.
Pros:
Very accurate
Sometimes simple is best
A lot of times buildings have features that make for natural grid “lines” as in the mural example above, the building had seams that informed the placement of our grid.
Cons:
Takes time to draw the grid and I’m impatient
Complicated imagery can be confusing with a traditional grid, and if there’s 100 grid squares you can get lost where you are in the rendering
Would not be ideal for small scale text, but will work for large text
Tips and Tools that help:
Here is a tutorial on how to do a scale drawing
I almost never draw the entire grid. I will put up tape marks as a guideline to mark each “square” of the grid, but almost never draw the whole thing
Chalk Line: snap one for fast and easy for large-scale lines. Here’s a tutorial
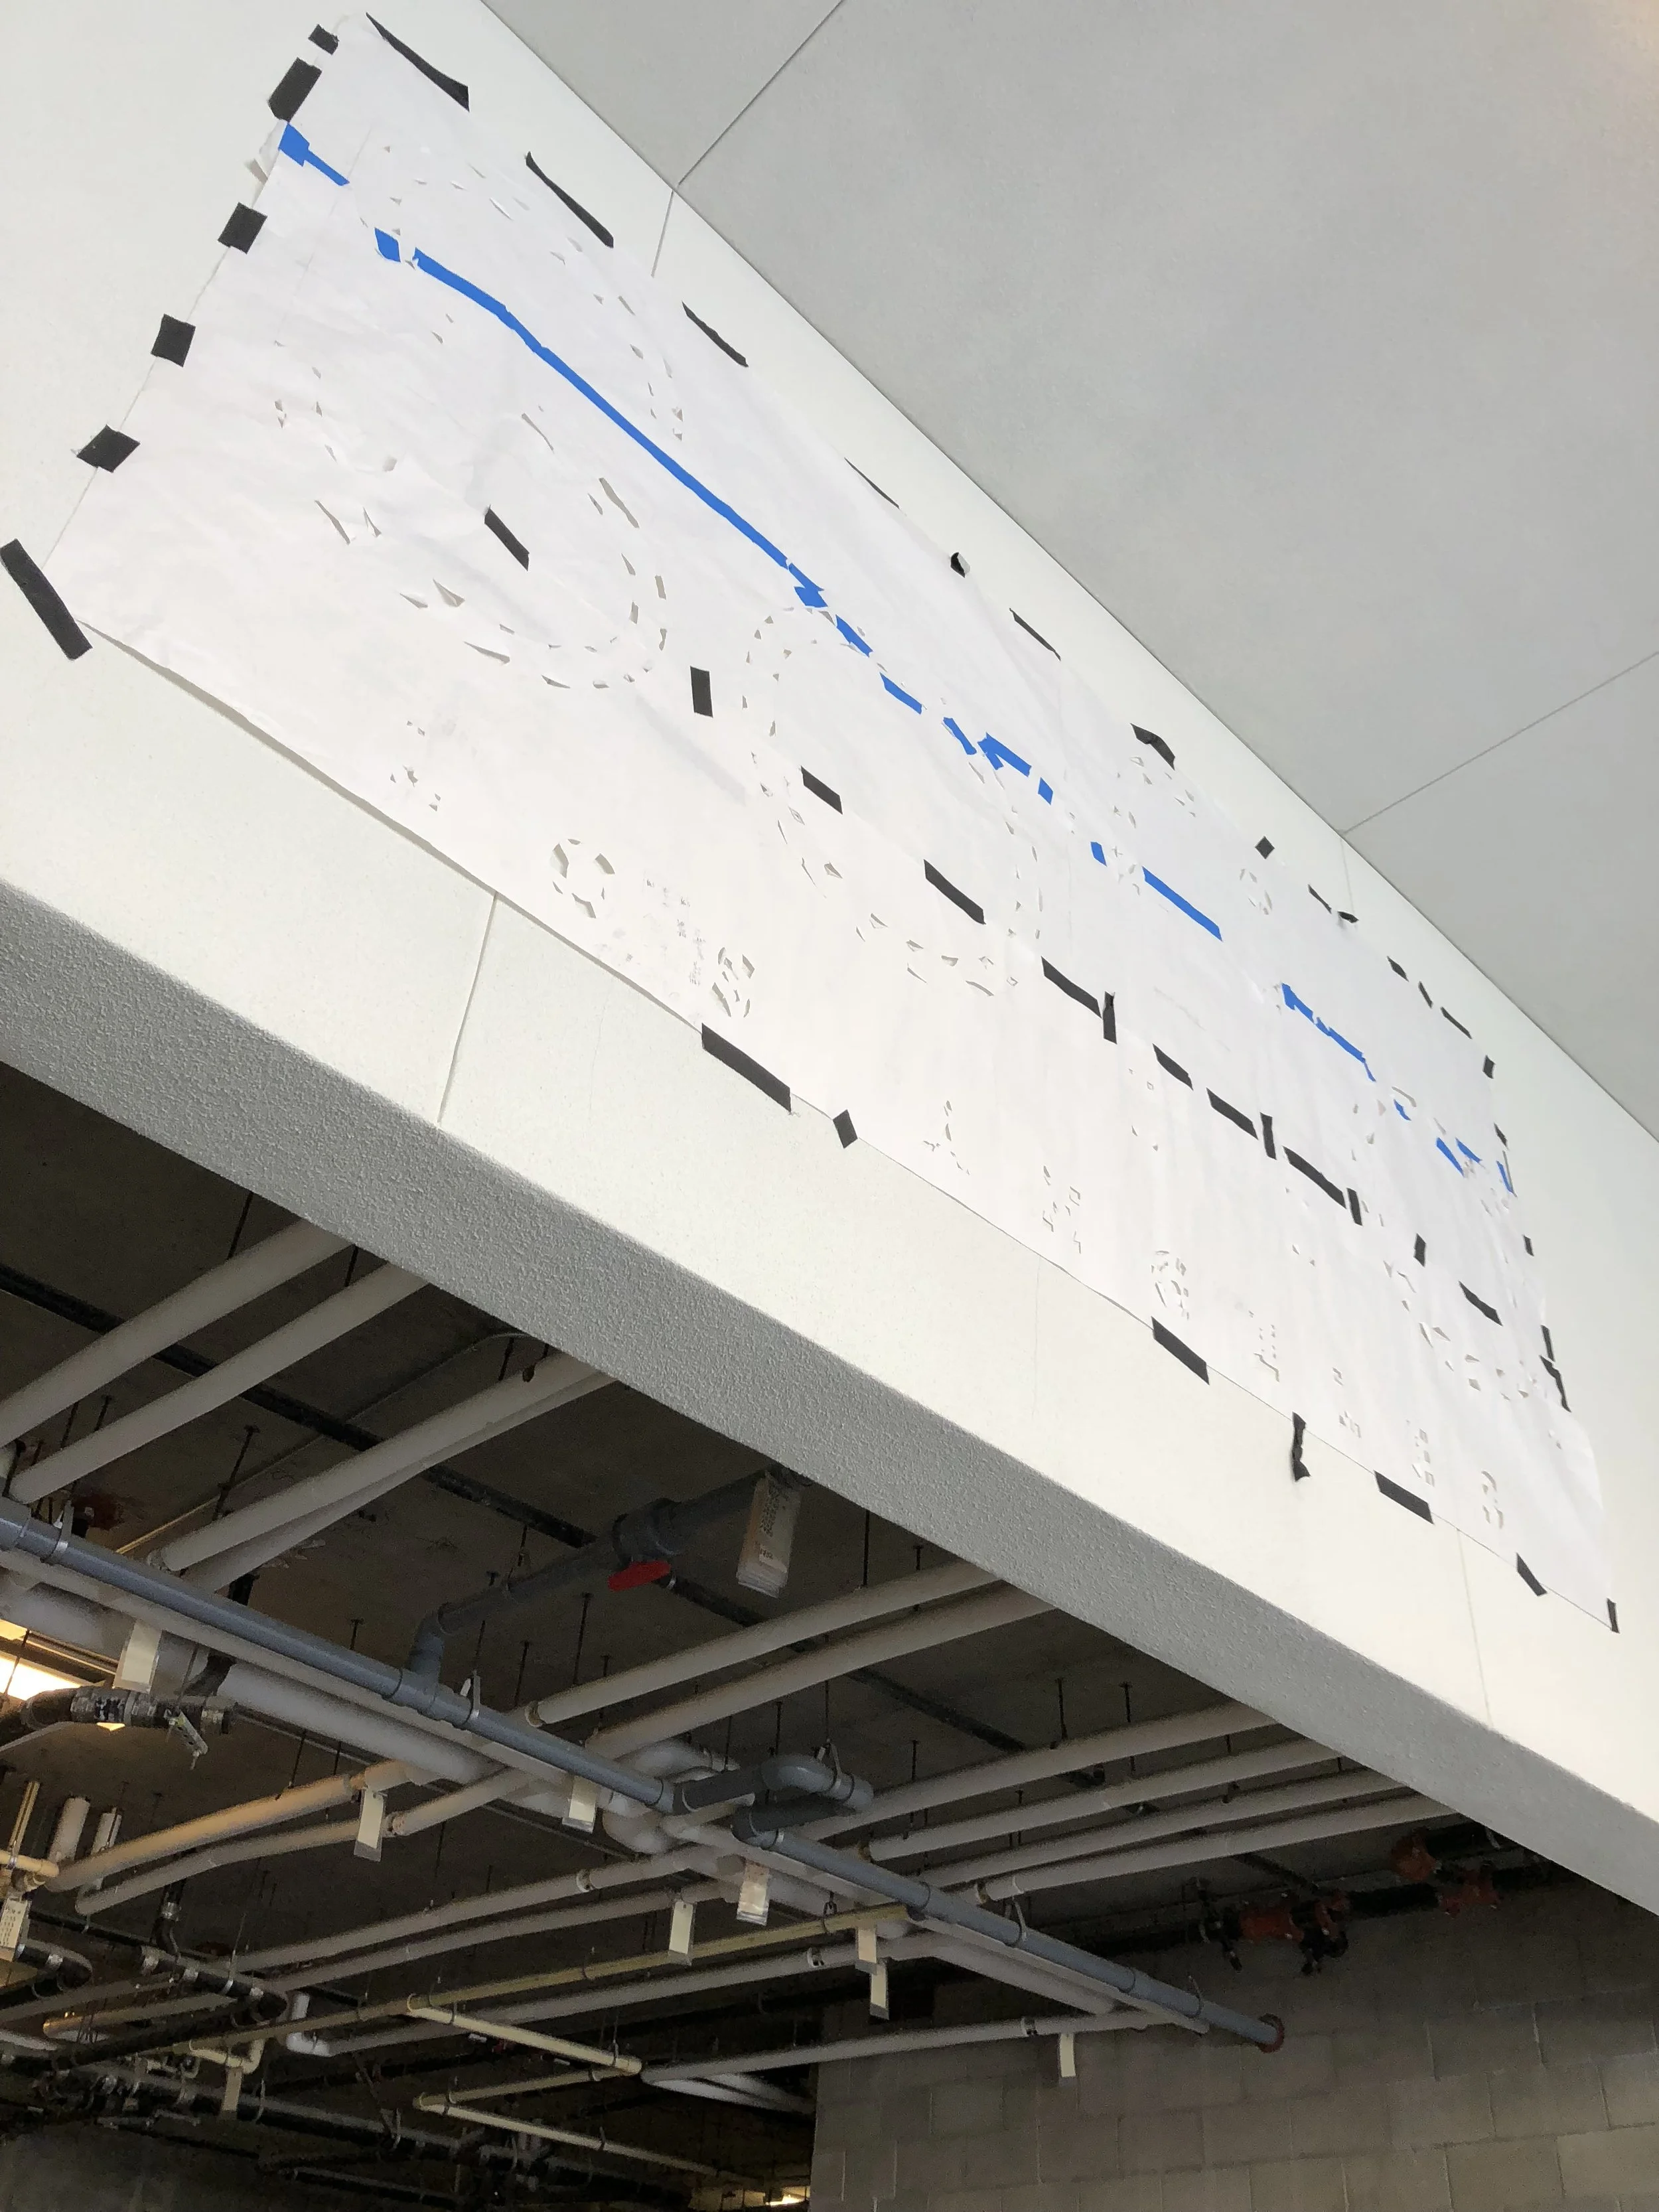
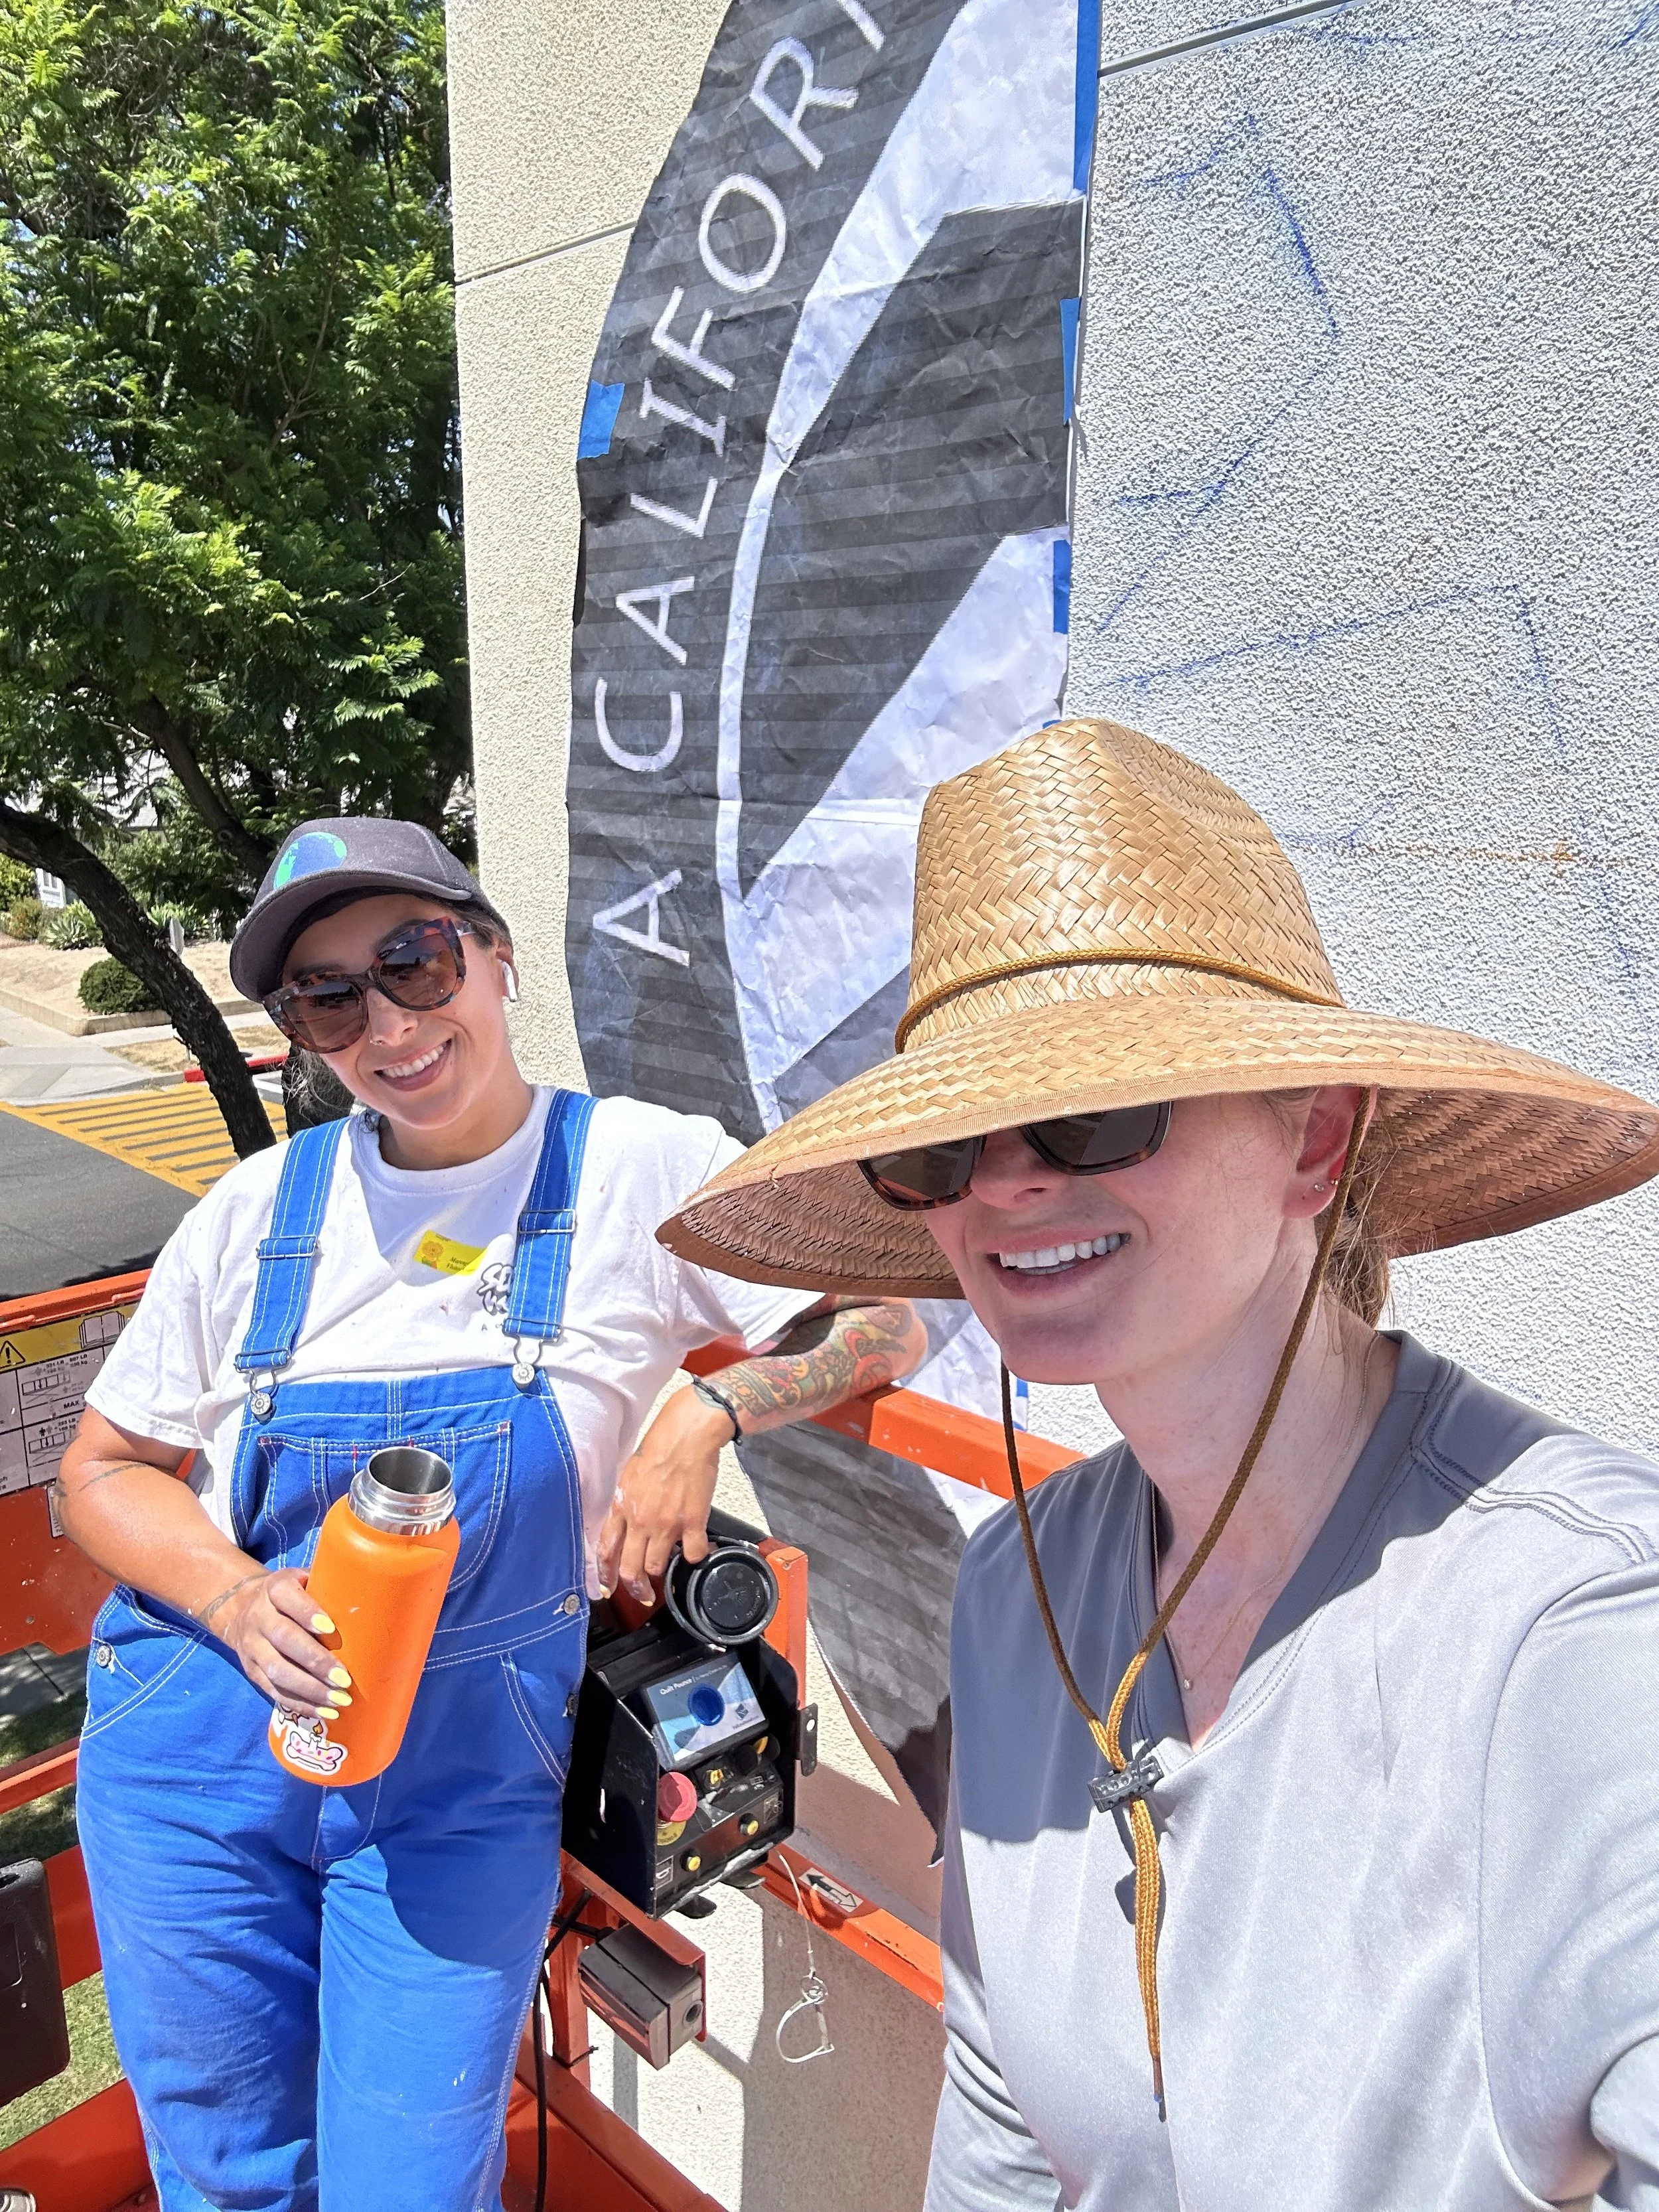
3. Doodle Grid


A doodle grid is a quick alternative to the traditional grid. You fill your wall with random doodles, then overlay your design digitally and use the doodles as reference points. Other than a grid, this might be the method I most commonly see today with mural artists. In the “Propel” mural above, I used scale measurements like a grid to place the bottle to make sure it was the right proportion, then I used doodles to do the text. In the floral example on the right you can see how chalk can be hard to see with the rendering overlayed on top.
Best for: Organic shapes, portraits, and complex designs
Pros:
Fast setup
No measuring
More accurate in the sense that you have more points to go off of than a traditional grid
Cons:
People will wonder what the heck you are doing
Have to have an ipad or laptop on site to overlay your design
You have to be able to get a clean/square photo from straight on in order to overlay. This can be difficult on really tall buildings where you would need a drone to be far enough back, or tight hallways. If your photo isn’t straight on, the artwork will be skewed
Have to paint over all of your doodle marks which is not ideal for imagery with light colors and lots of negative space becasue you will be painting multiple coats
Not the best for tight/perfect lettering unless large scale
Tips and Tools that help:
I use the Procreate app on my ipad to overlay the design
I use acrylic spray paint since pencil and chalk don’t always show up enough in your photo and can smear a lot in light colors
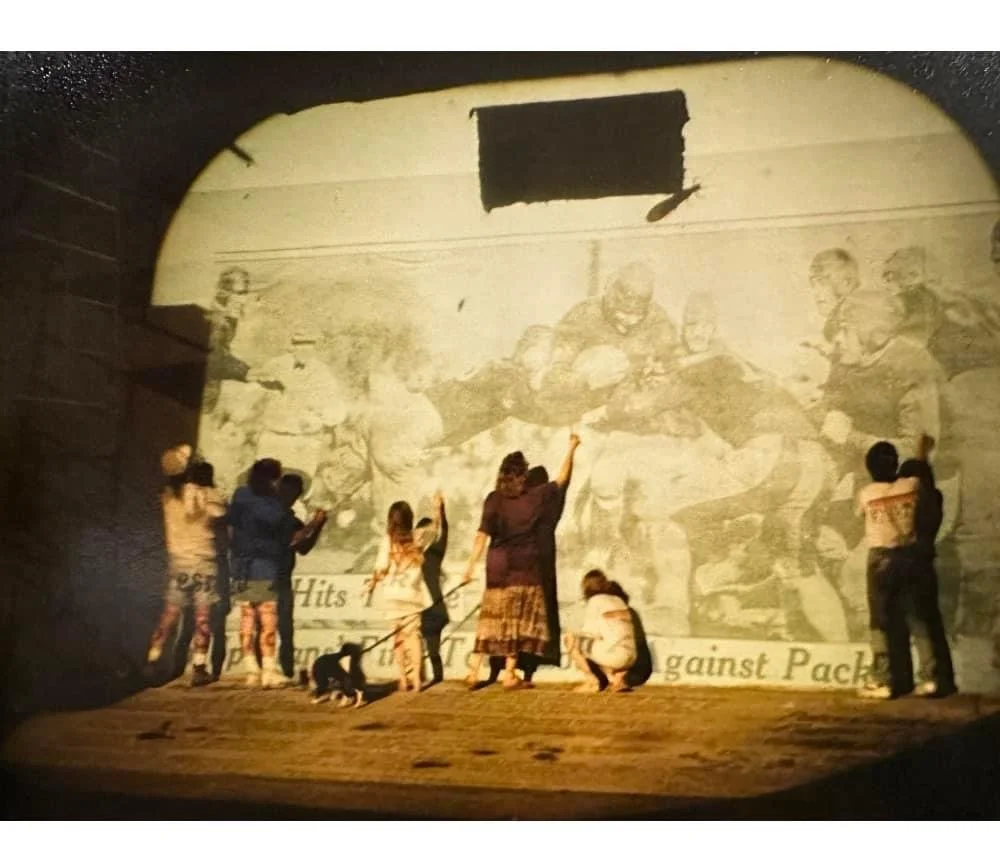
4. Pounce Pattern


This old-school method is still in use by super large scale muralists (who have a pounce pattern company do this for them!) and sign writers who make perfect hand painted signs. Pounces are still in use in the film industry especially in situations where signs need to be painted on-site very quickly before filming. A pounce is made by printing your design on paper, perforating the outlines with a pounce wheel or electro pounce, taping it to the wall, then rubbing charcoal dust or chalk through the holes to create a dot-based transfer.
Best for: Signs, logos, lettering, complicated patterns, and repetitive elements. Anything you don’t want to “guess” with. In the above example we used a pounce for some complicated repeated decorative patterns
Pros:
Very precise
Can reuse the same pattern multiple times
Quick when you have to be in and out of a job site fast. Very little measuring needed on the day
Cons:
Not great for windy days or bumpy walls
Large scale printing is expensive
Using a pounce wheel can be time consuming
Your measurements have to be perfect in advance
Pipes, window frames, or other surprise elements in your wall can throw off your pounce
Tools that help:
Pounce Wheel – for manually perforating patterns
Pounce Pad– or make your own with a sock and powdered chalk
Print shops like FedEx or local sign shops can print large format patterns
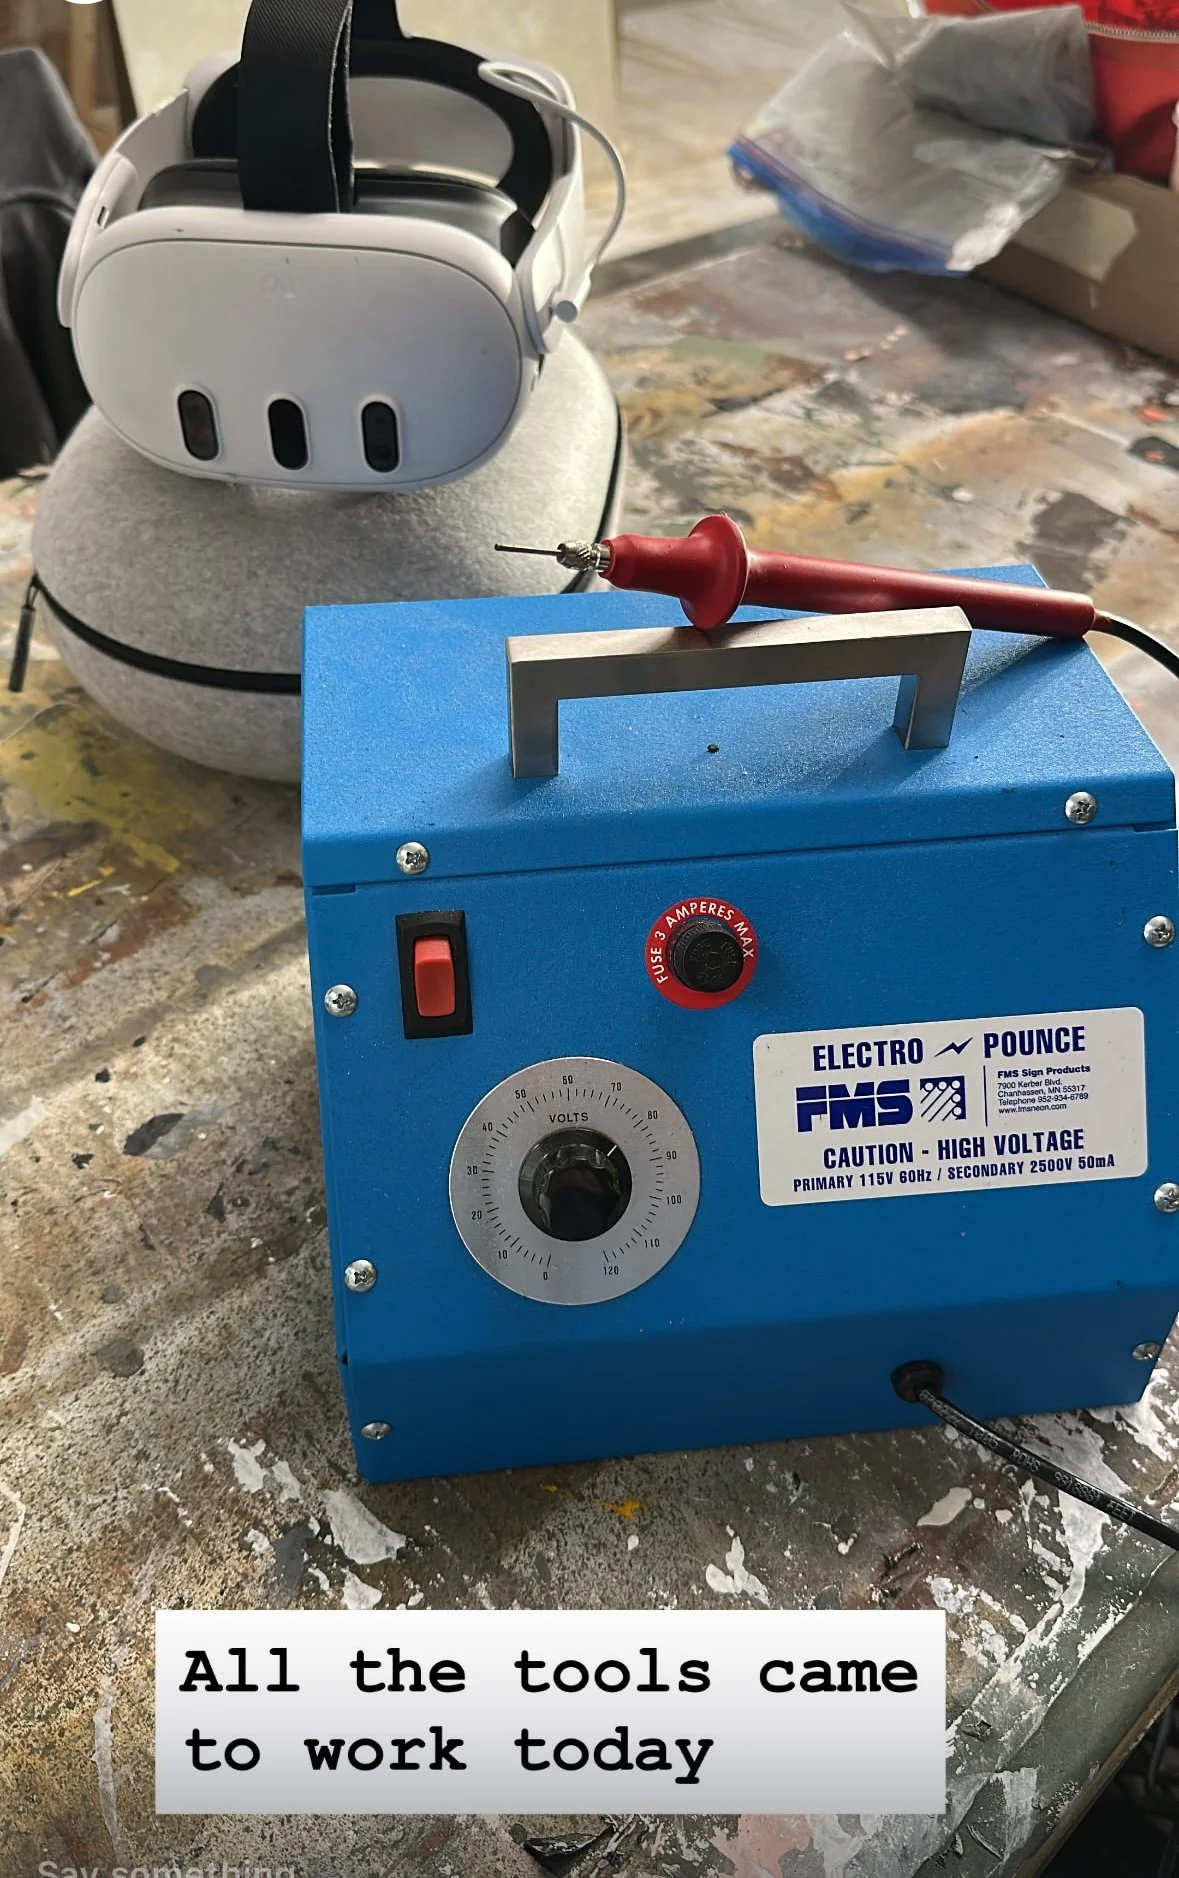
Electro Pounce machine- super fun to use paper zapping machine perforates those holes much more quickly than with a pounce wheel
5. Projector


It’s pretty straightforward, with this method you use a projector to transfer your design onto the wall and trace the outlines.
Best for: Indoors, detailed work, and murals that need precise alignment or accuracy. This is one of the most common, easiest and quickest transfer methods.
Pros:
Super fast
Ideal for logos, type, portraits
Very little math needed
Cons:
Can skew, distort, or keystone images and can be hard to line up exactly
Requires darkness and power source
Not ideal if there are obstacles in the way like trees or bushes (see example above)
Can be impossible outdoors or during daylight
Can be hard to get far enough away for a large building, and you might have to have a second scaffold to set it on (see example above)
If you’re by yourself it can be sketchy to set up a projector at night, especially if it’s across the street
Won’t work in narrow areas unless you have a special type of projector called a short throw, but it’s fish eye lens can distort your imagery
Recommended tools:
Digital Projector. You can get one for quite cheap but in order to project in daylight you need one with more lumens. I like my old projector from Best Buy
Extension cords + power strip
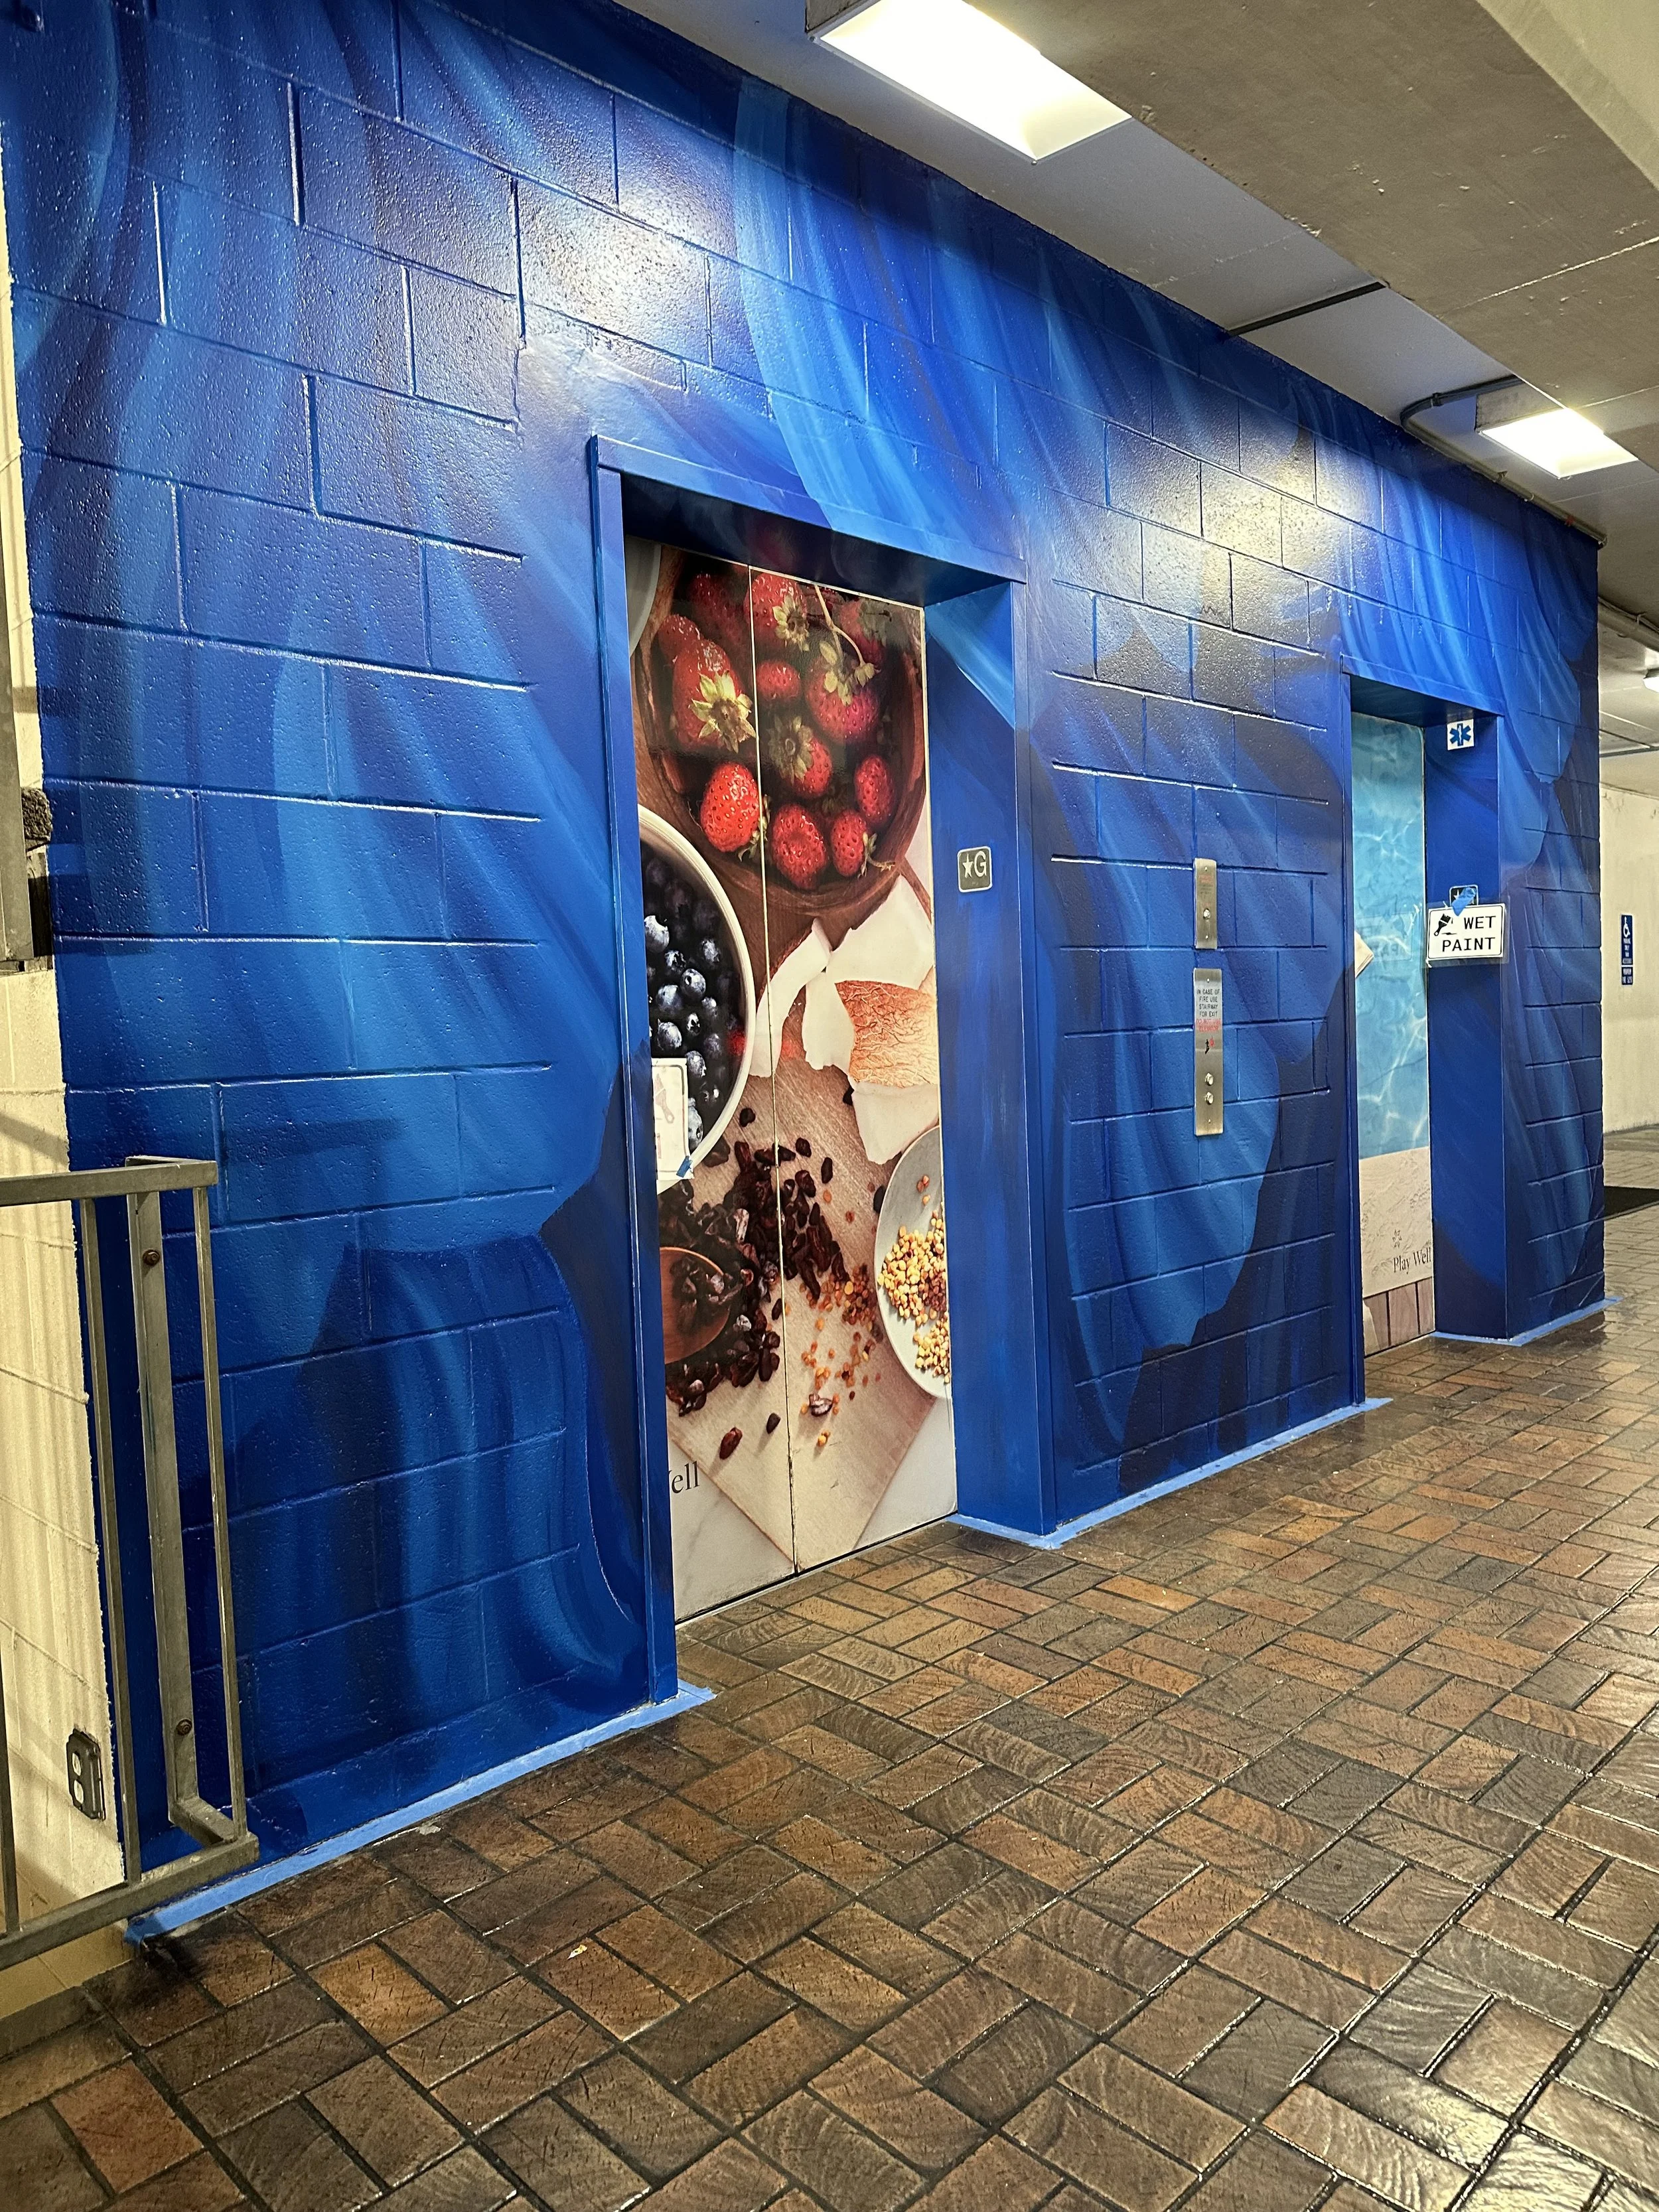
6. VR Headset Projection


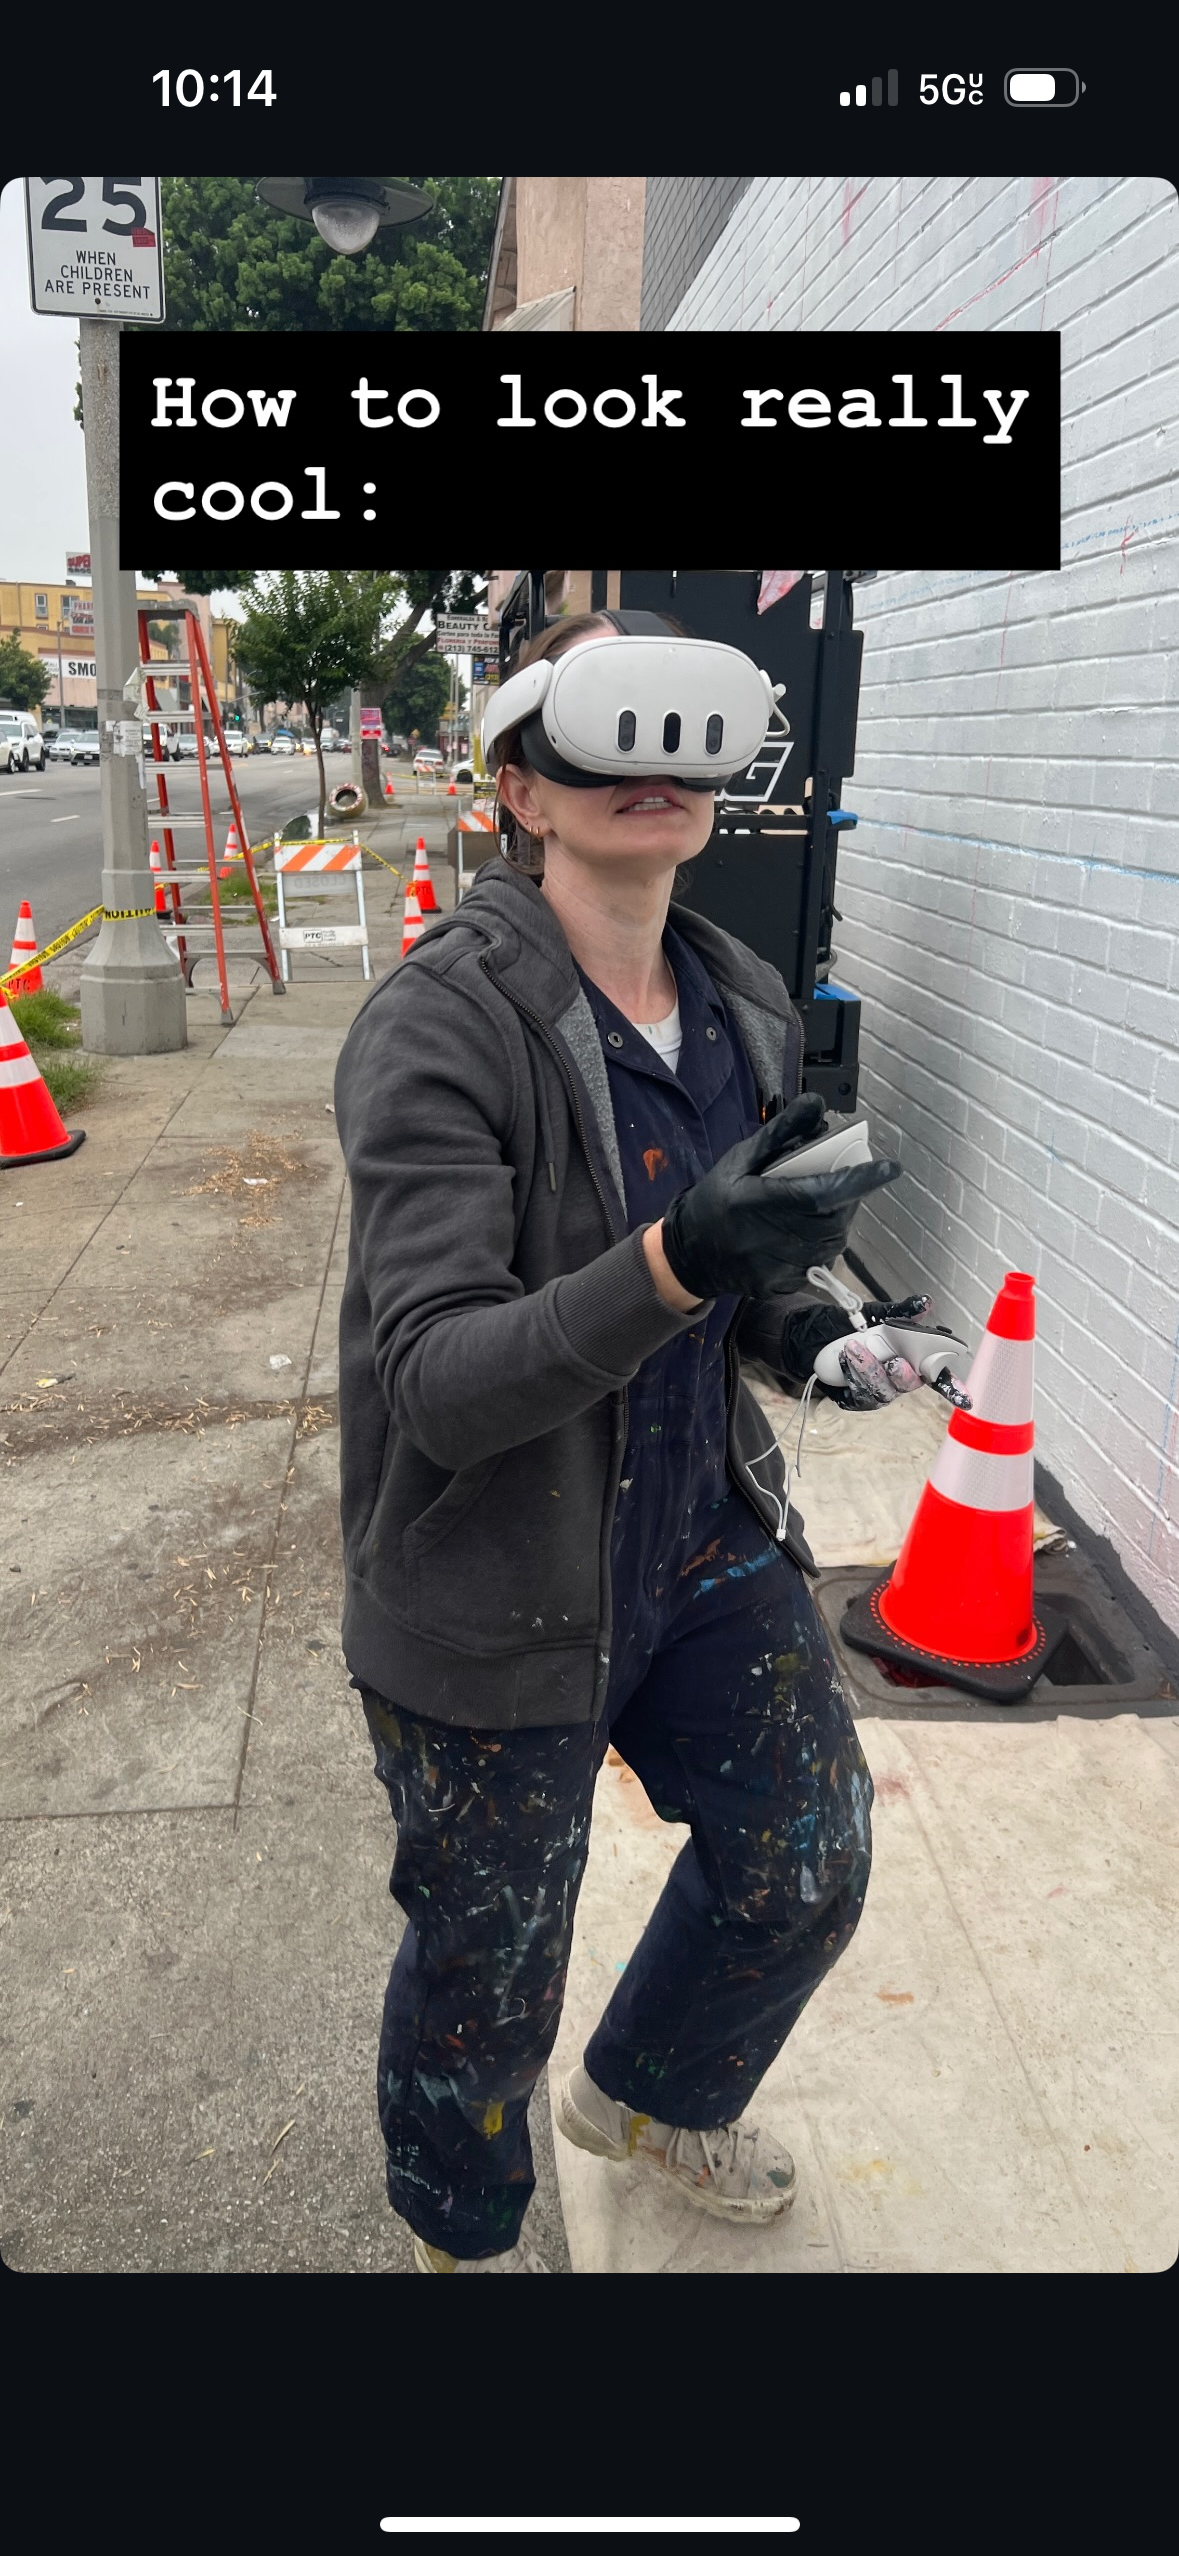
A VR Headset uses augmented reality to overlay your mural in real space and trace it live. These augmented reality goggles were made for gaming, but work well for tracing art.
Best for: Outdoors and bright areas where you can’t project, new technology enthusiasts or gamers, narrow areas like a hallway or staircases, and smaller sections at a time
Pros:
Can preview in real scale before you start
Can trace your image in daylight unlike projector
About the same price as a projector, and in some cases cheaper
Easier to scale up and down and line up your image than a projector
Works well for smaller areas at a time
Cons:
Right now it’s pretty annoying to transfer your image to the headset. Here’s a tutorial that breaks it down
Tricky for super large areas- you need to already have sections gridded out for placement
With a projector or other method, everyone can draw at the same time. With the headset, your crew will be waiting on you to finish drawing which can slow everyone down a ton
Learning curve. Make sure you take time to practice using the headset in advance
May glitch or just stop working (ask me how I know 😅)
Shorter battery life of 2hrs unless you buy the extended headset
Really confuse people with what you are doing. Lots of people will stop to talk to you but you can’t take it off without losing your place so you just have to awkwardly talk to them with the headset on
Safety- although you can still see with it on, be careful wearing this on a job site
Tools to explore:
My Headset Meta Quest 3
Contour App Full dislosure this app is not very good. I think this technology is new and will be improving over time
Pro tip: Always have a backup method (like a doodle grid) in case the tech fails mid-install.
Honorable Mentions
Graphite Transfer paper if you need to trace something small that’s complicated and are short on time
Frisket: A frisket is basically a large sticker that you can use like a stencil. You can create your own or have a sign company print and cut out one for you. This is ideal for signage.
Final Thoughts: Choose Your Weapon
There’s no one-size-fits-all method. Some murals are best freehanded, others call for precision and tech. And sometimes, you plan for one thing and pivot on the fly. One last little tip from me- prepare for multiple ways to transfer the image when you pack your kit, you never know when you might need it.