How to Create Smooth Blends with house paint : A Step-by-Step Guide
Blending house paint can be a bit of a challenge, especially in tight spaces where spraying isn't an option. Whether you're working in a small room, a client's home, or simply want to avoid the hassle of extensive masking, this step-by-step guide will help you create seamless blends using just rollers and brushes.
Materials Needed
How every many colors of house paint you want to blend (in my example I will be using 4 colors)
Floetrol (a paint conditioner that extends drying time)
Roller covers (one for each color and a couple extra for blending)
4” Paintbrushes (optional, for a more textured look)
Mixing cups and stir sticks. I like to use deli cups from Smart & Final, but you can re-use buckets, jars even large yogurt containers
Step-by-Step Guide
Step 1: Preparation
1. Choose Your Colors: Select the main colors for your mural. These will form the basis of your gradient. I use Behr house paint from Home Depot, but I also love Benjamin Moore, Sherwin Williams, and Nova Color.
2. Prepare Your Workspace: Cover floors and any areas you want to protect with drop cloths and painter's tape.
3. Mix Intermediary Colors: In separate mixing cups, combine your main colors to create intermediary shades. These mixed colors will help achieve smooth transitions.
4. Mix in Floetrol: Add Floetrol to each of your paint colors, following the manufacturer’s instructions. This will extend the drying time of your paint, giving you more time to blend.
5. Paint a sample: Test out your intermediary colors and your blends on a sample board or even a piece of paper to check your colors and your best method.
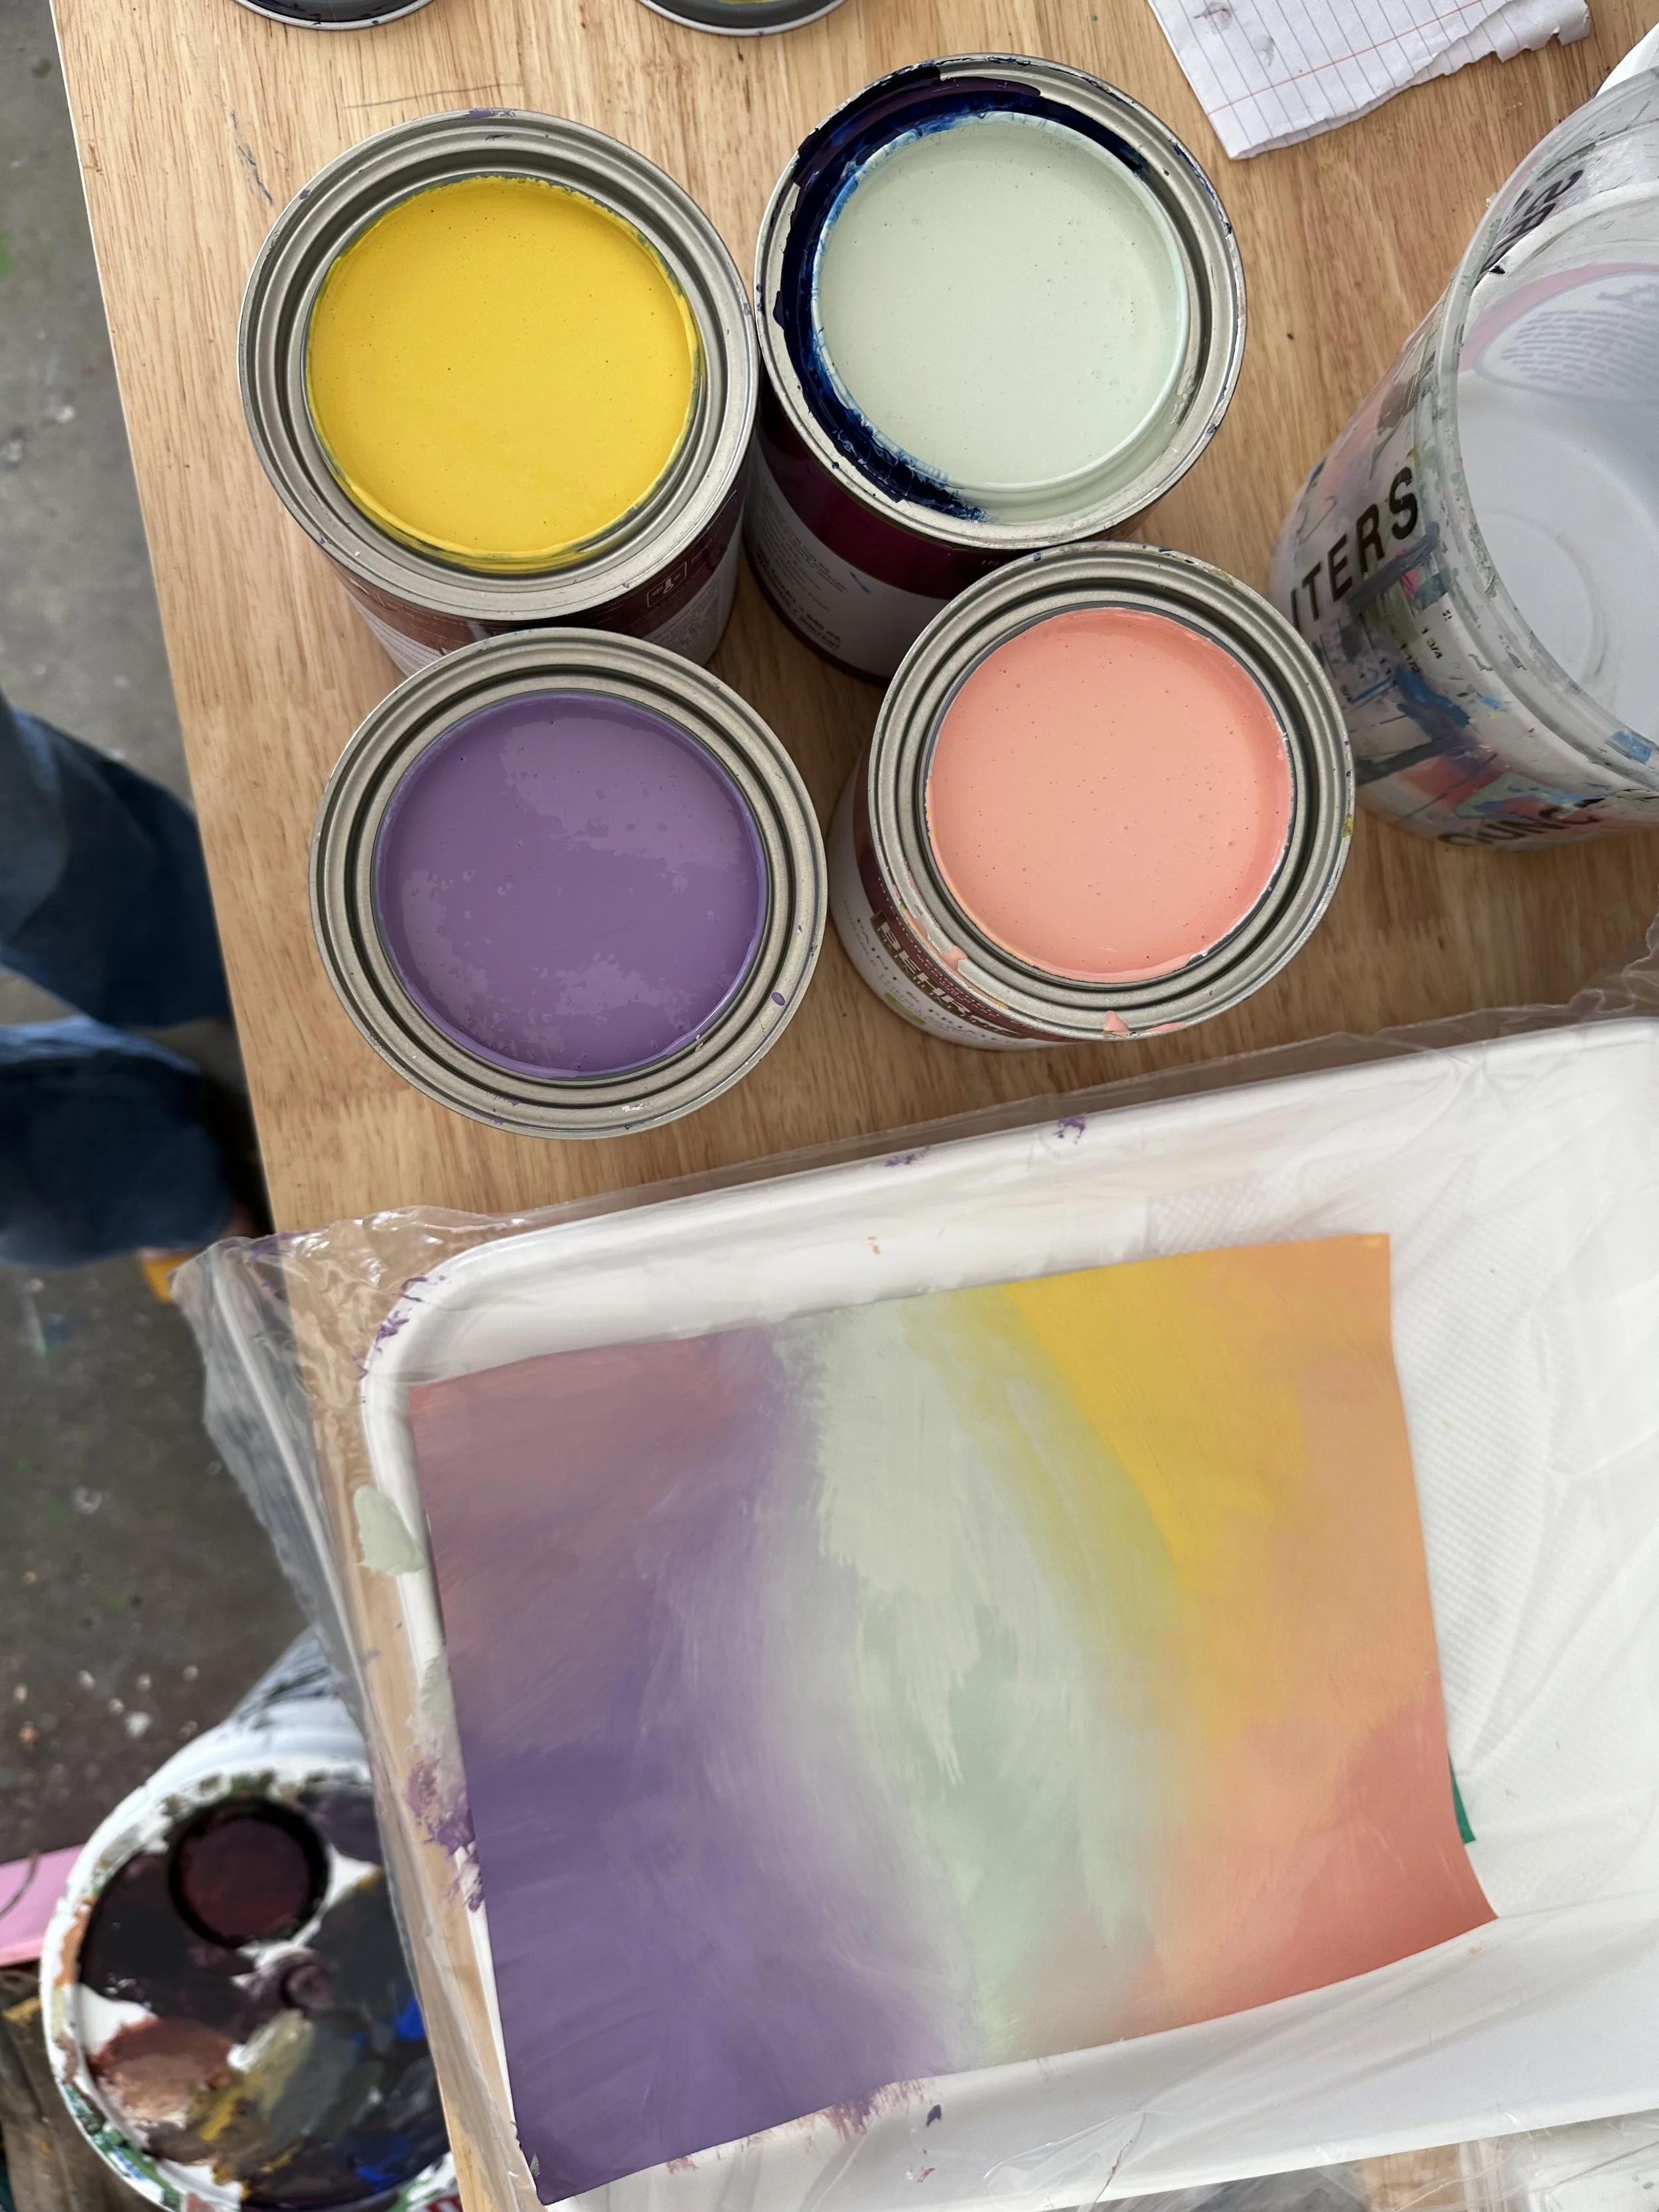
Testing out my 4 main colors and how they blend. See the final result here
Step 2: Apply Base Colors
1. Block in Solid sections: Use your rollers to apply solid bands of each color on your wall, including the intermediary shades.
2. Let It Dry: Allow the first layer to dry completely. This might require a second coat in some areas to ensure full coverage.
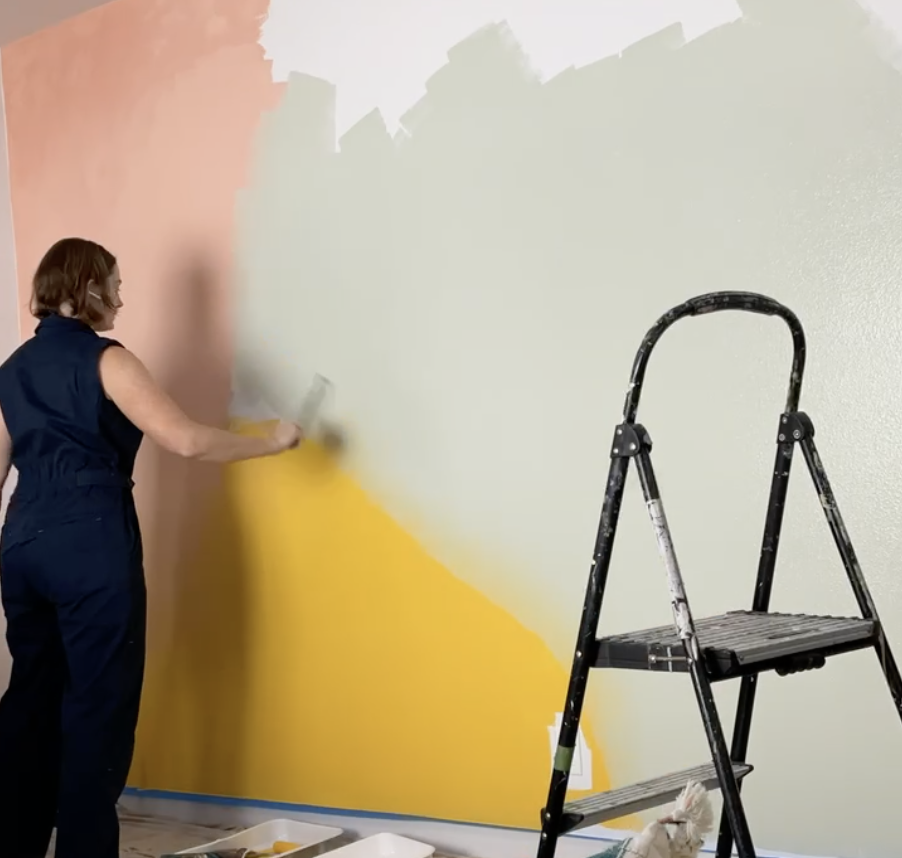
Laying in solid background colors before getting into blending, using a 6” low nap roller
Step 3: Blending
1. Start Blending: Once the base layer is dry, reapply the paint focusing only on the areas where the colors meet. You have to work quickly to achieve wet blends. Try to focus on one blend or section at a time. If the paint starts tacking up- STOP. Let it dry and try again.
2. Use Dedicated Rollers: Have a separate roller for each color to avoid muddying your shades. In the photo below you can see that I have separate trays for each roller.
4. Blend with a separate Roller or Brush: Use a “dry roller” to gently blend the edges where the colors meet, if necessary. Roll very lightly to merge the colors without harsh lines. In this example I am using a brush for a painterly effect.
Watch a full video of the project here
Extra Tips for a Perfect Blend
Work Quickly: Work wet into wet to get the best blends.
Practice First: If you're new to this technique, practice first!
Adjust Floetrol Amounts: Depending on your environment (humidity, temperature), you might need to adjust the amount of Floetrol to get the right open time for blending.
Optional: Use a small garden mister to keep your wall wet
Optional: If you want a more textured, hand-painted look, use a large paintbrush to blend the colors. This technique can create a loose, painterly effect.
To watch the video of me creating this Ombre Mural, check out my Instagram and TikTok
For more painting tips and inspiration, follow me on social and stay tuned for more tutorials!


